User Guide: RTK Base Station
Product Overview
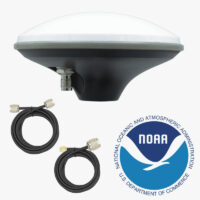
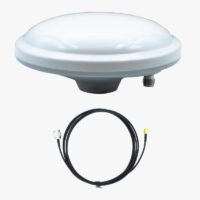
This product is compatible but doesn’t include triple band GNSS antenna, which is necessary to use the product.
The initial configuration can only be done under Windows. Once configured, it can be accessed via other operating systems. Contact us if this is your case and you don’t have access to a Windows computer.
Package
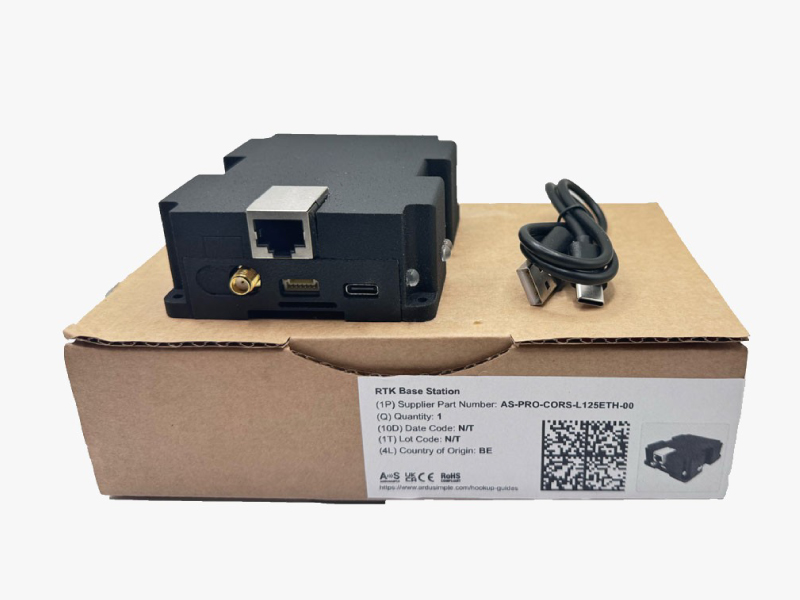
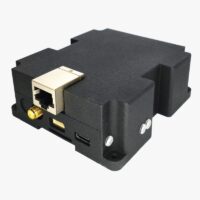
- simpleRTK3B Pro receiver with Shield for Septentrio Native Ethernet inside a plastic case
- USB to USB-C cable
Hardware
The hookup guide in this section provides detailed descriptions of each hardware component and their functions.
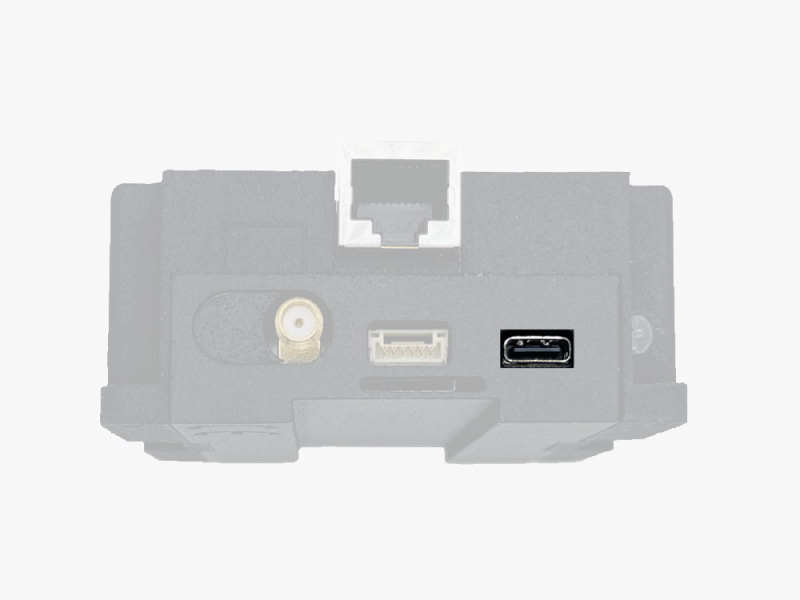
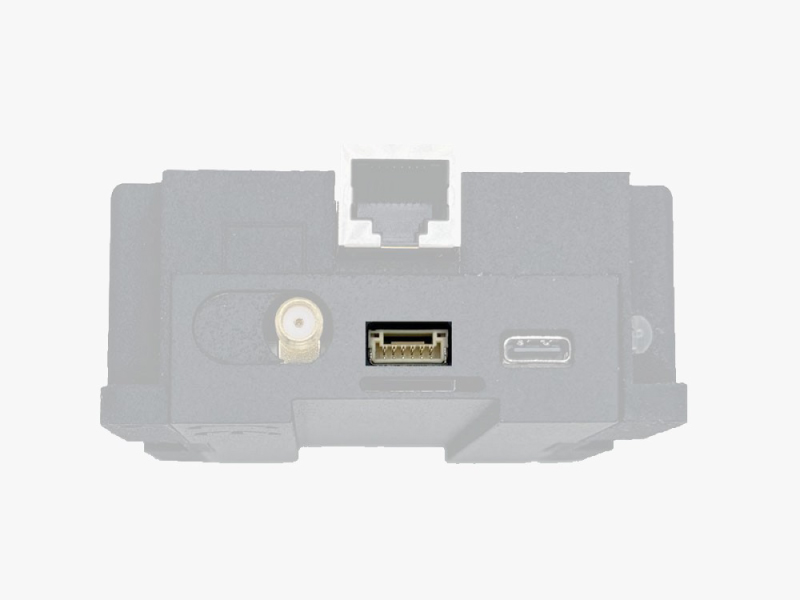
USB-C connector
You can use it to:
- To configure a base station when connected to your PC
- To power the base station from a power bank or PC.
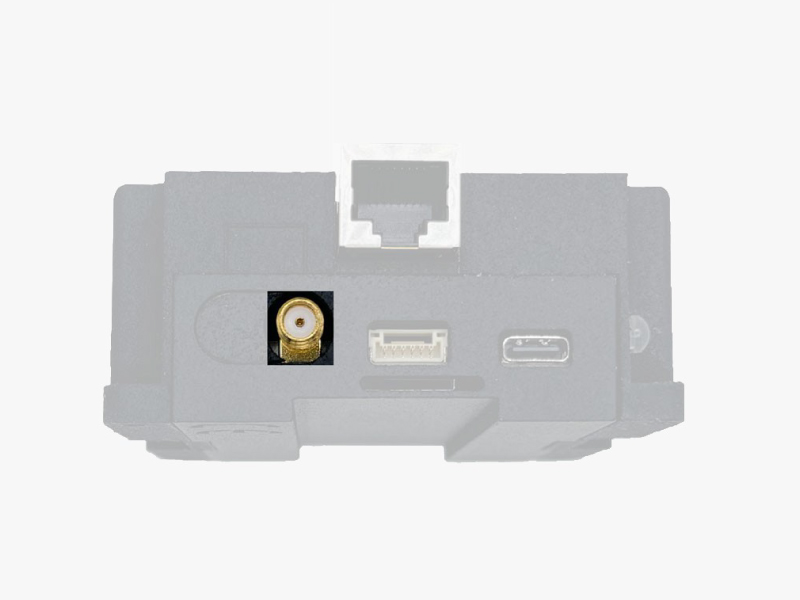
SMA connector
IMPORTANT: It is mandatory to connect the antenna before powering the Base station. The installation of the antenna is also a key point to achieve the best results. The GPS/GNSS antenna should always be installed with the maximum possible view of the sky.
Ensure the antenna is mounted on a stable pole, magnet stand or structure that can withstand wind. If you want to learn how installation impacts performance, please have a look at our GPS/GNSS antenna installation guide or look this video.
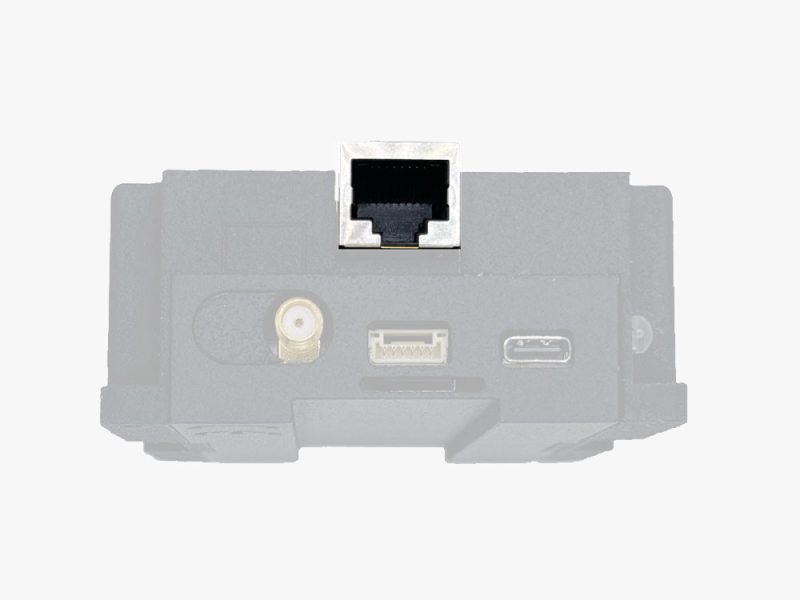
Ethernet connector
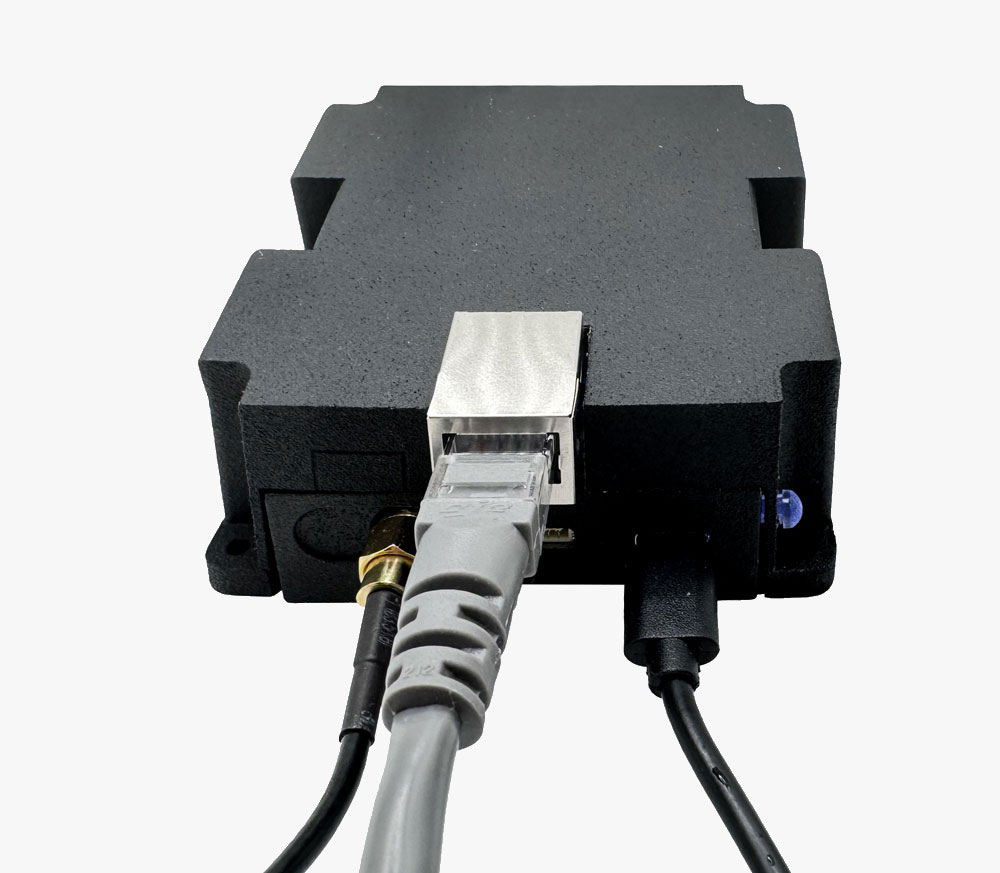
You can use this Ethernet connector to connect the receiver to your router. This will provide internet access to the Base Station, and once configured, you can also monitor and configure your Base Station from another computer on this Ethernet network.
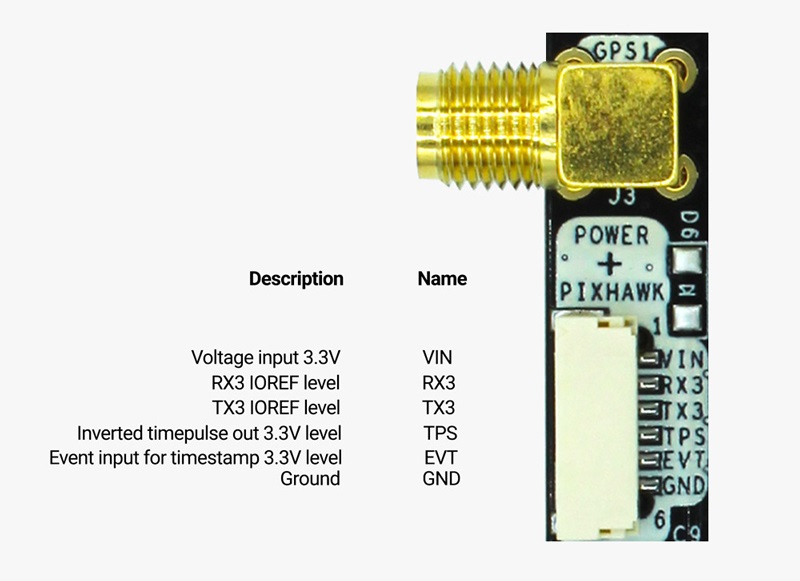
Pixhawk connector
This connector also has a serial port (Serial Port number 3) that can be used to output correction data. The serial port is 3.3V (TTL), don’t connect RS232 cables here, otherwise you will burn your base station. Contact us if you have any questions.
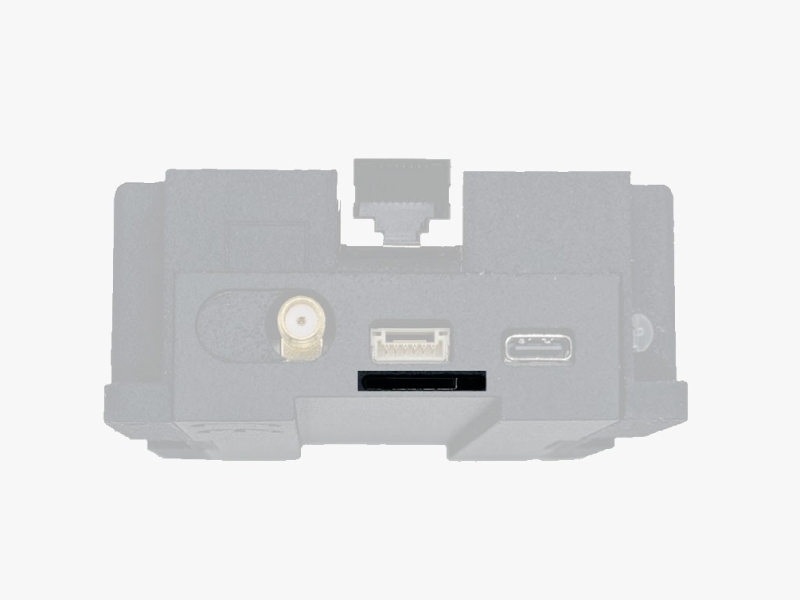
Onboard datalogging (MicroSD card)
This function can be used to continuously log GNSS data for monitoring purposes or as a fallback in the event of interruptions to real-time RTK corrections.
You can check tutorial How to generate RINEX files with simpleRTK3B Pro for detailed steps.
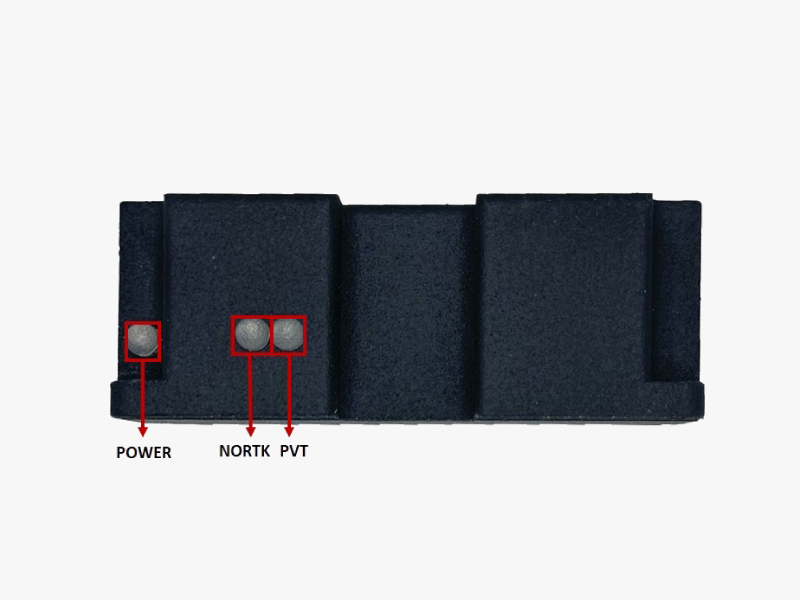
LEDs
- POWER: The LED lights up when the receiver has power.
- PVT: The LED lights up when it is possible to calculate a position from the available satellite visibility.
- NORTK: The LED blinks when receiving correction data, will be red at base station mode.
Setting up RTK Base station
Follow this installation manual to properly configure your RTK Base Station. This section also serves as an integration guide for connecting the receiver with other hardware and software.
Connect the receiver to your PC
- Connect the antenna to your receiver. Put the antenna in completely open air for testing functionality.
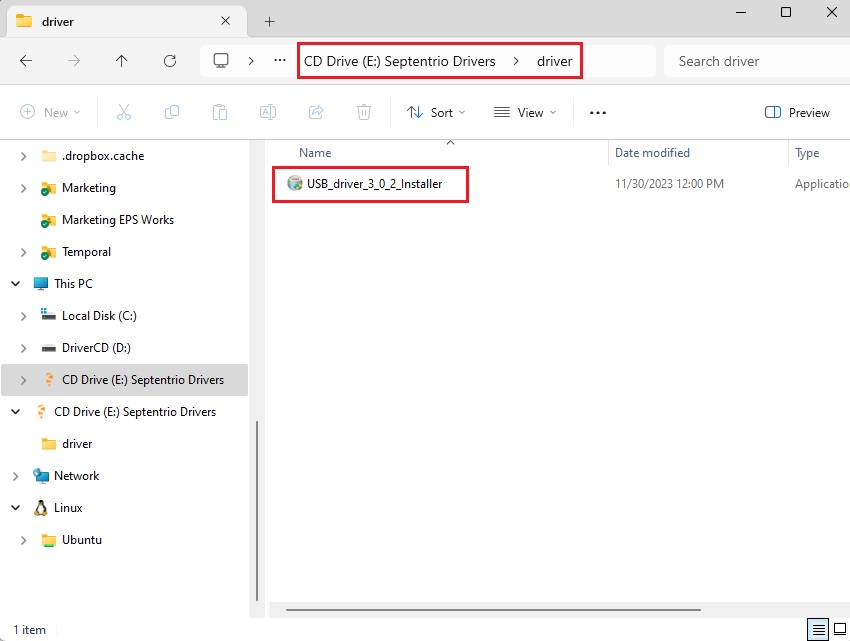
- Connect the RTK base station to your PC with a USB to USB-C cable. The first time you connect the RTK Base Station to a new PC, you will only see a new hard disk on your computer. Open the disk and manually install the Septentrio drivers.
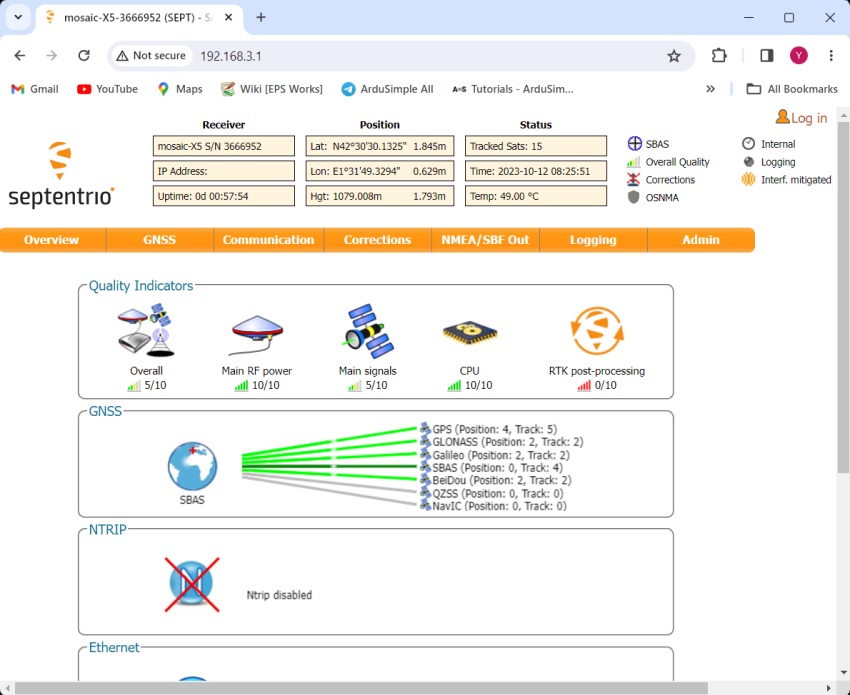
- Open a browser and type in 192.168.3.1, the Septentrio web interface appears, that you can both to configure and monitor the receiver. (Note: 192.168.3.1 is not the IP of the base station, it’s only a virtual website over USB connection). You will learn how to activate and check your base station’s IP address in the later section.
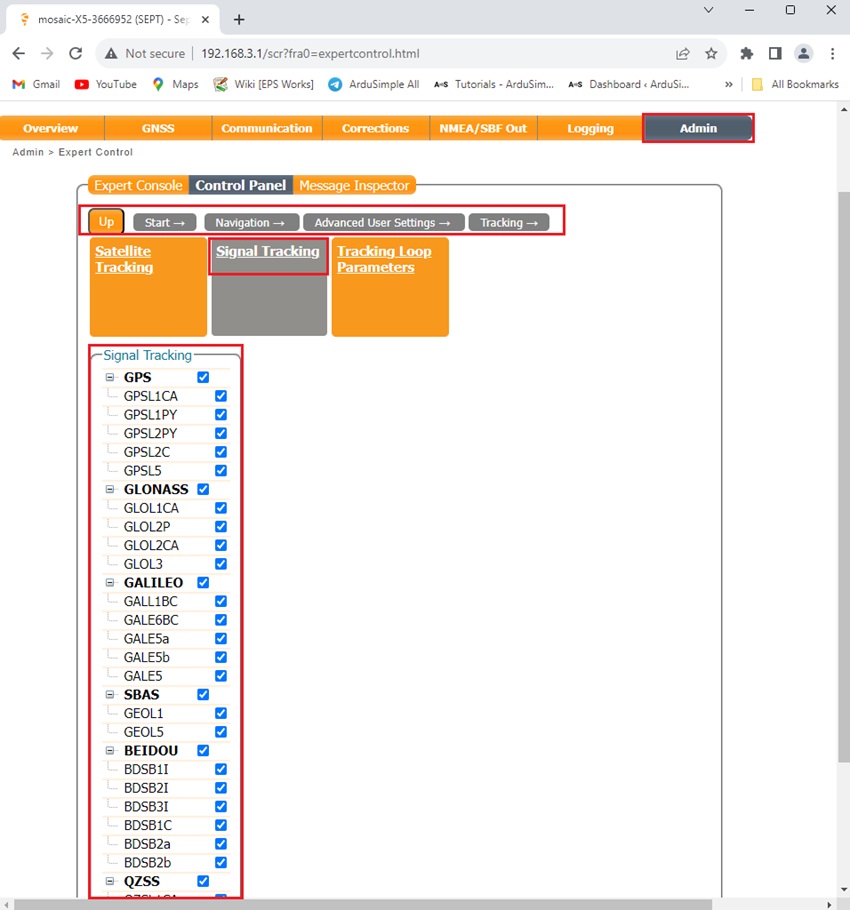
- L5 is disabled by default with Septentrio Mosaic-X5, thence we will enable L5 by going to Menu Bar–> Admin–>Expert Control–>Control Panel–>Navigation–>Advanced User Settings–>Tracking–>Signal Tracking. Expand all satellite signals and select all band. Click OK and save configuration.
Configure the receiver as a static base station
The absolute accuracy your rover will get from this method will be around 1-2m. But relative accuracy can reach 1cm.
Example where Auto is a good choice: In land surveying, the precise measurement of the distance between two points on the ground is more important than the absolute position of those points.
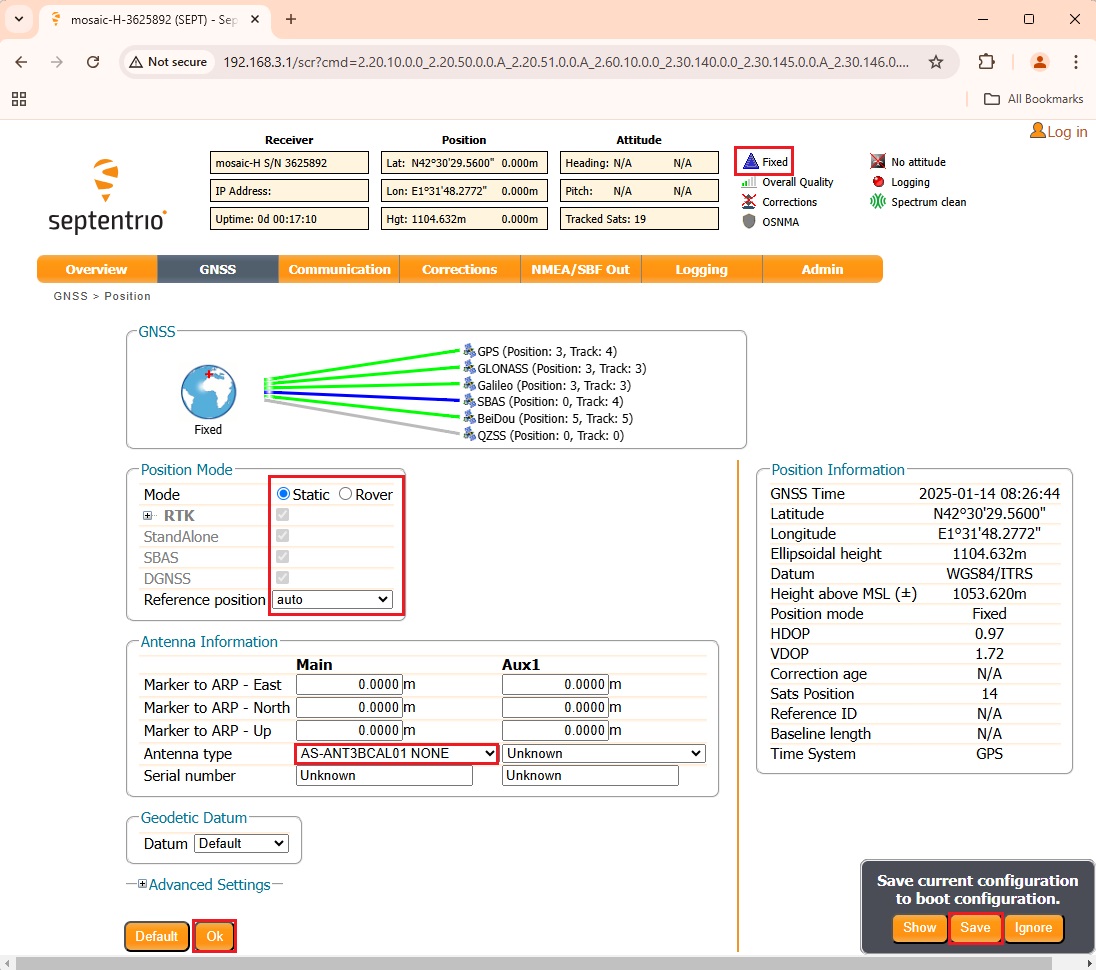
- At web interface, go to GNSS–>Position. At Mode choose Static, Reference position choose auto.
- If you are using a Calibrated Survey GNSS Tripleband + L-band antenna (IP67), at Antenna type choose AS-ANT3BCAL01 NONE, it will upload the antenna Calibration file.
- Press Ok and Save Configuration.
- In a few minutes, you should see the Position mode change to Fixed.
There are 3 ways to determine the coordinates of the base station.
You can refer to tutorial How to determine the exact position of your base station.
The absolute accuracy of your rover can reach to 1cm.
Example where Fixed position is a good choice: In autonomous vehicle navigation, the vehicle needs to know its precise location within a global reference frame to navigate accurately.
Share the base station online, accessible from everywhere with internet access
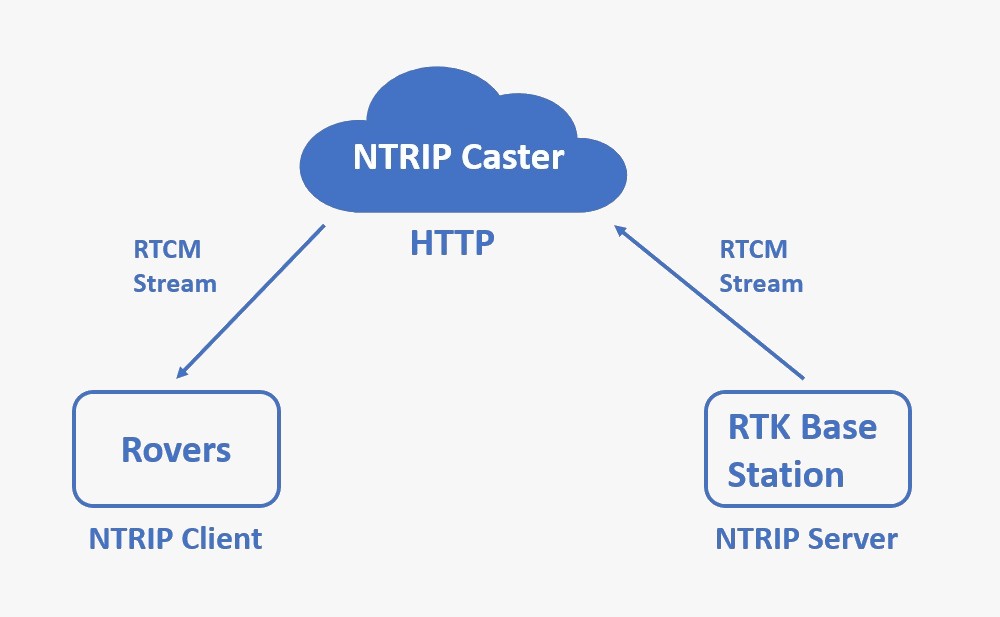
NTRIP caster is needed as a central server to manage and distribute GNSS correction data efficiently between a RTK Base Station and multiple Rovers.
The caster uses standard internet protocols (HTTP/HTTPS), allowing Rovers to connect over diverse network types, such as cellular, Wi-Fi, or Ethernet. This overcomes challenges like NAT (Network Address Translation) and firewalls that can block direct connections.
If you want to access your base station privately and prevent the public from connecting to it, you can use software like SNIP and BKG that offer secure, private connections. Some features may require a paid subscription.
The following are examples of how to share your base station with the most commonly used NTRIP caster services.
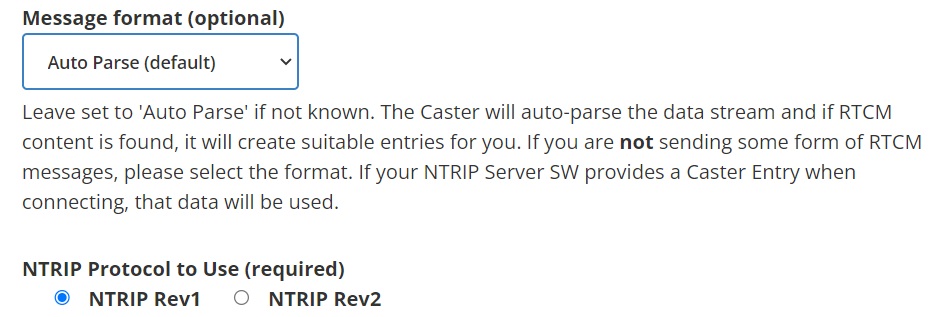
- Register using this link. You will be asked to enter your name, e-mail address and mountpoint. Leave the Message format to Auto Parse and NTRIP Protocol to Use to NTRIP Rev1. Other fields are optional.
- An automatic e-mail will be sent. You need to reply to the sender to confirm your registration.
- A few hours after your reply, you will get another e-mail to confirm that your mountpoint is available.
- Now you have the credentials to connect to RTK2go (password and your mountpoint).
- Connect the RTK base station to your router with an Ethernet cable.
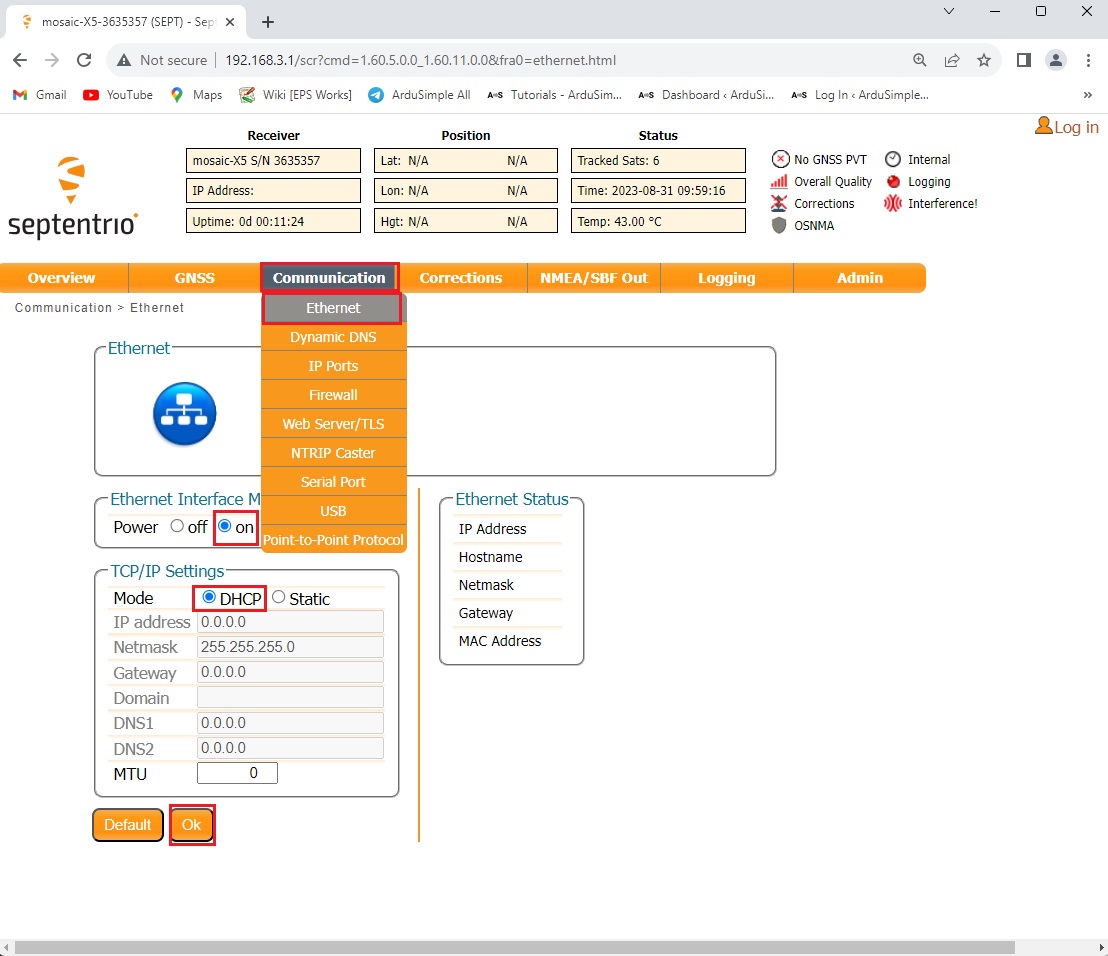
- In the toolbar, go to Communication–>Ethernet. At the Ethernet Interface Mode, check Power on. In most of the routers automatic IP is used. To work in this way, select DHCP. If you prefer to set up your local IP manually, you can also do it from this menu. Press Ok.
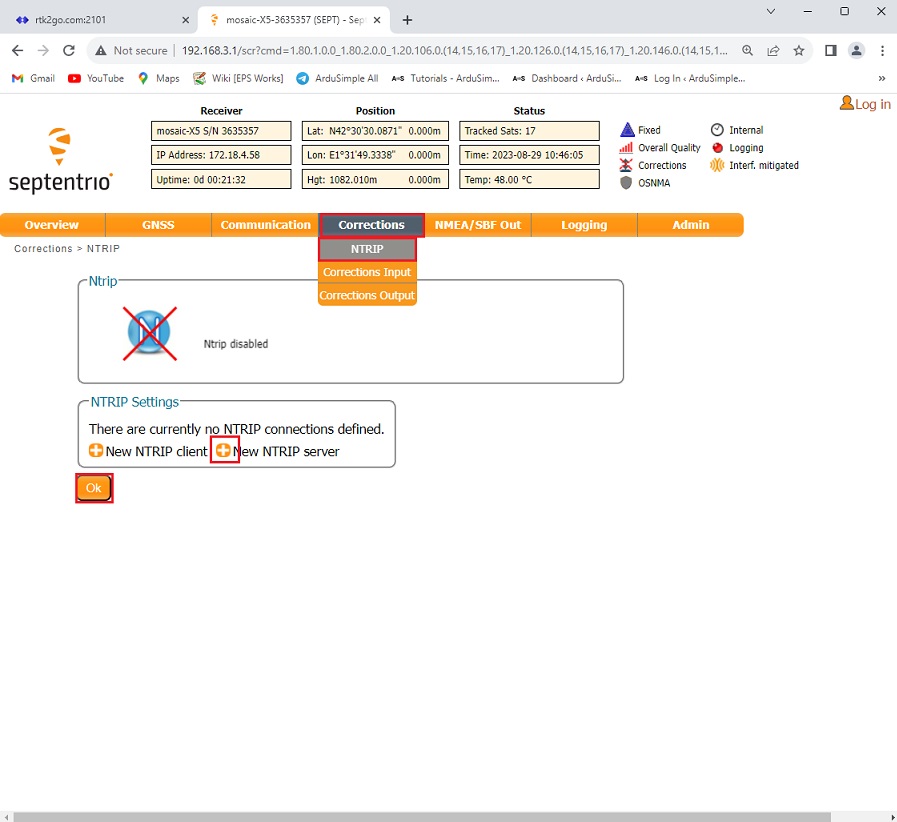
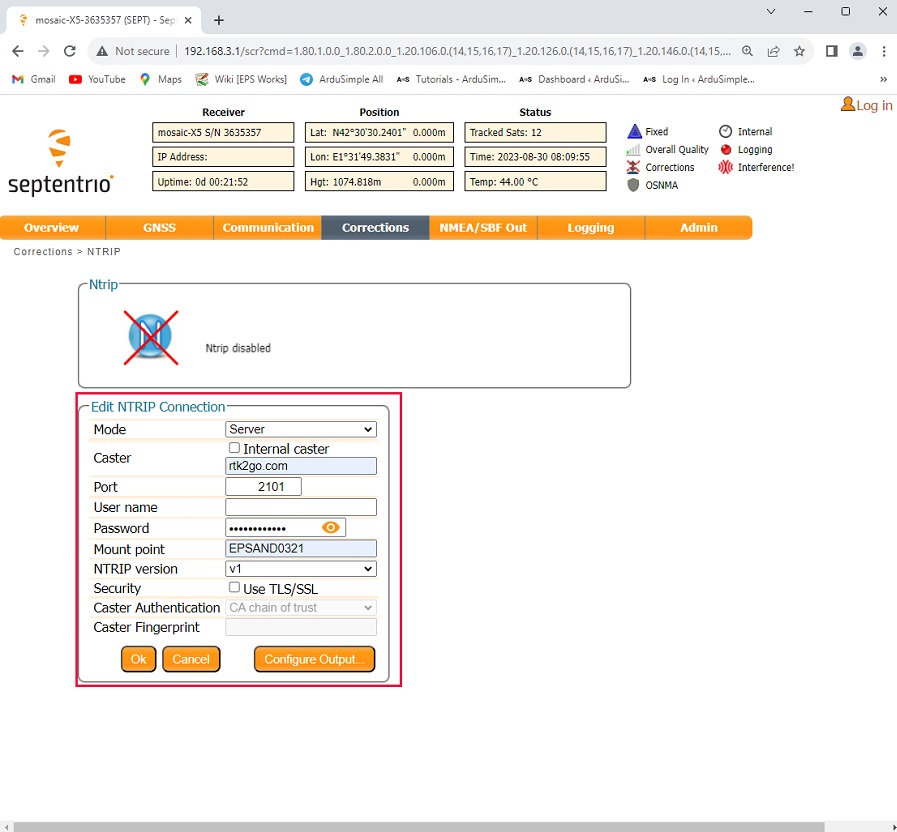
- In the toolbar, go to Corrections–>NTRIP. Choose +New NTRIP server and press Ok.
- Edit NTRIP Connection as it is on the following image. Set Mode to Server, Caster to rtk2go.com, Port to 2101, Password and Mount point as you registered in step7 and NTRIP version to v1. Then press Ok and Save configuration.
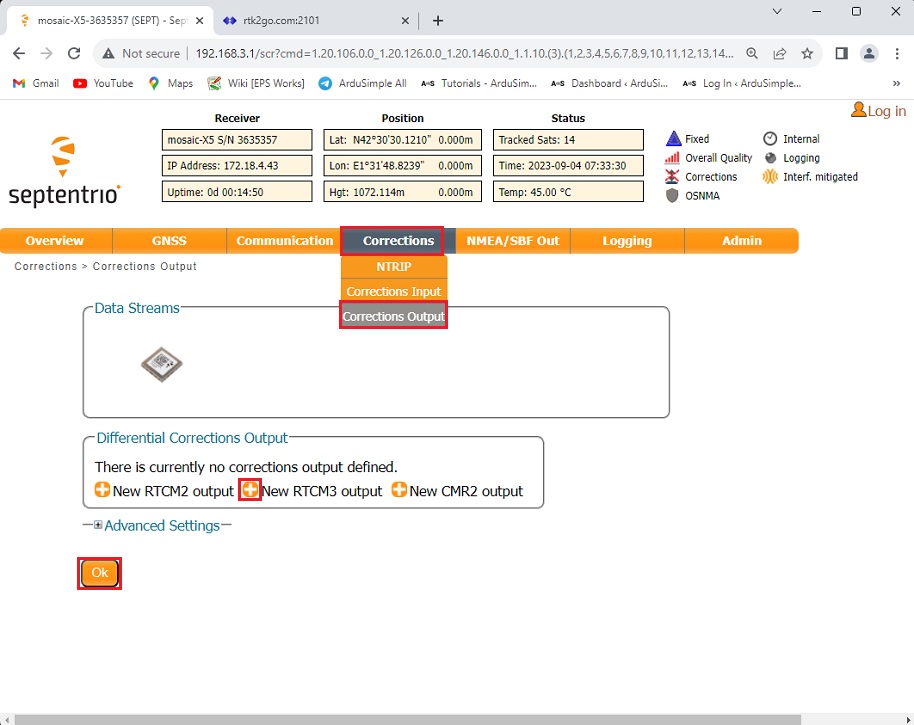
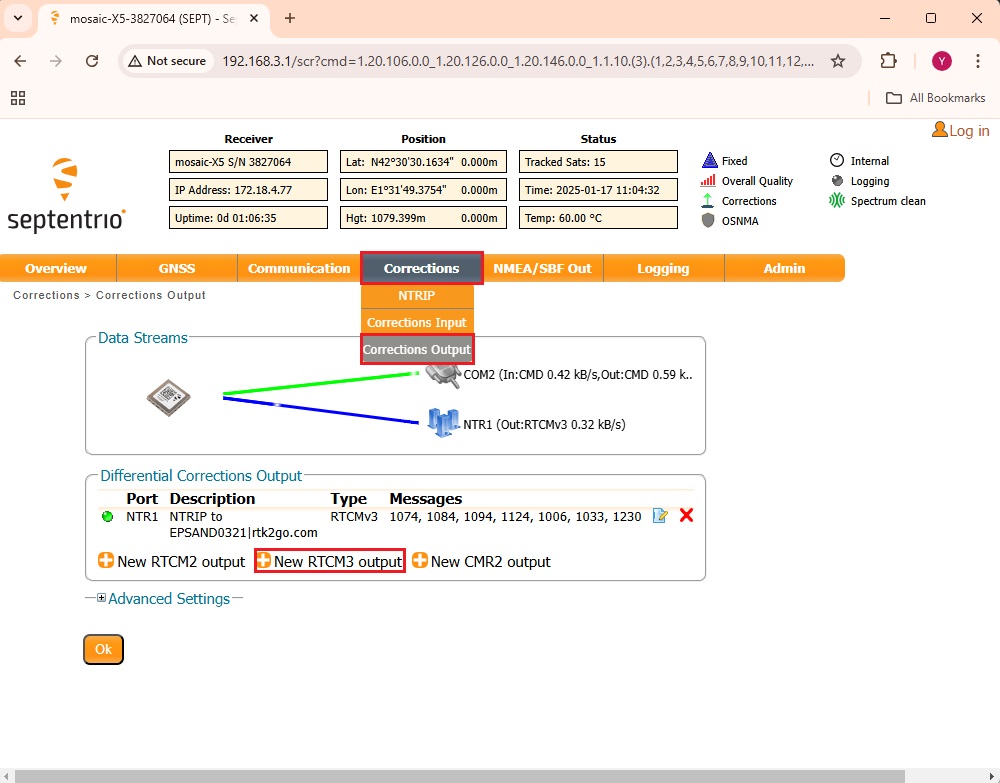
- At the toolbar go to Corrections–>Corrections Output. Select +New RTCM3 output. Press Ok.
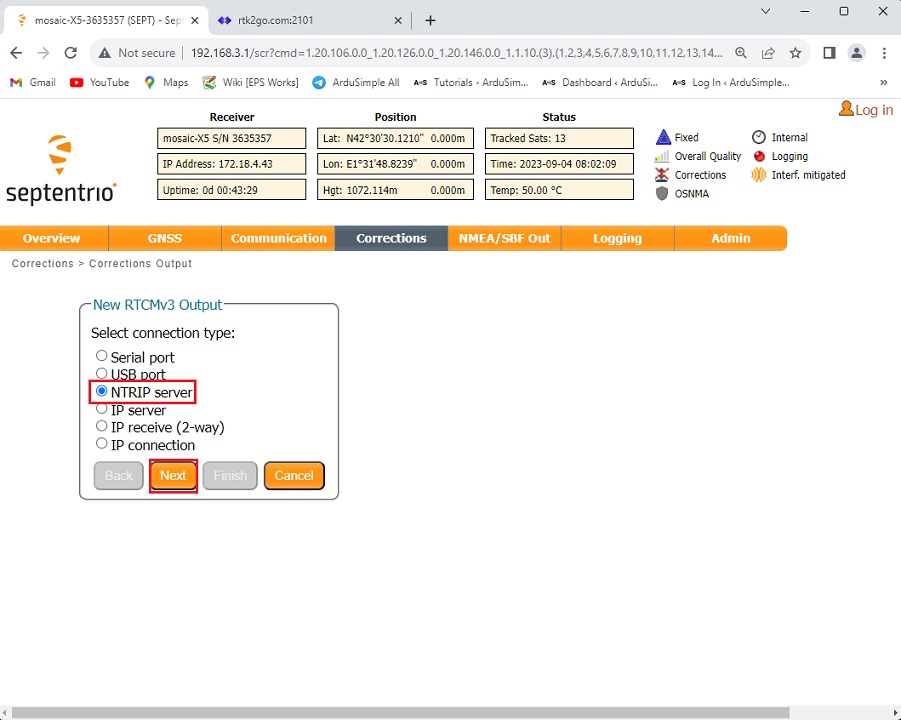
- Select NTRIP server. Press Next.
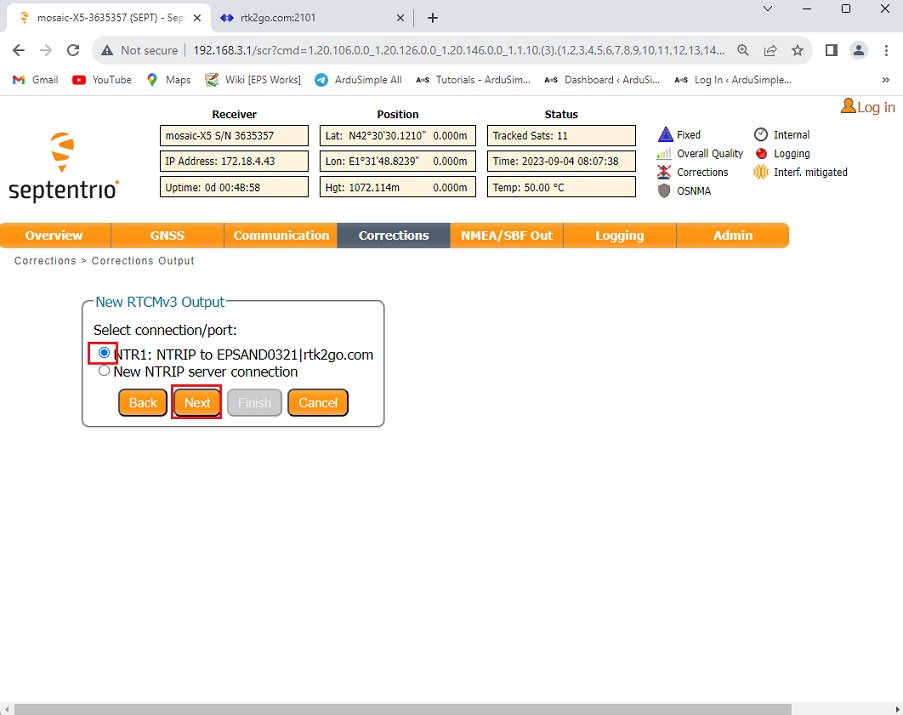
- Choose NTRIP to mount point|rtk2go.com.
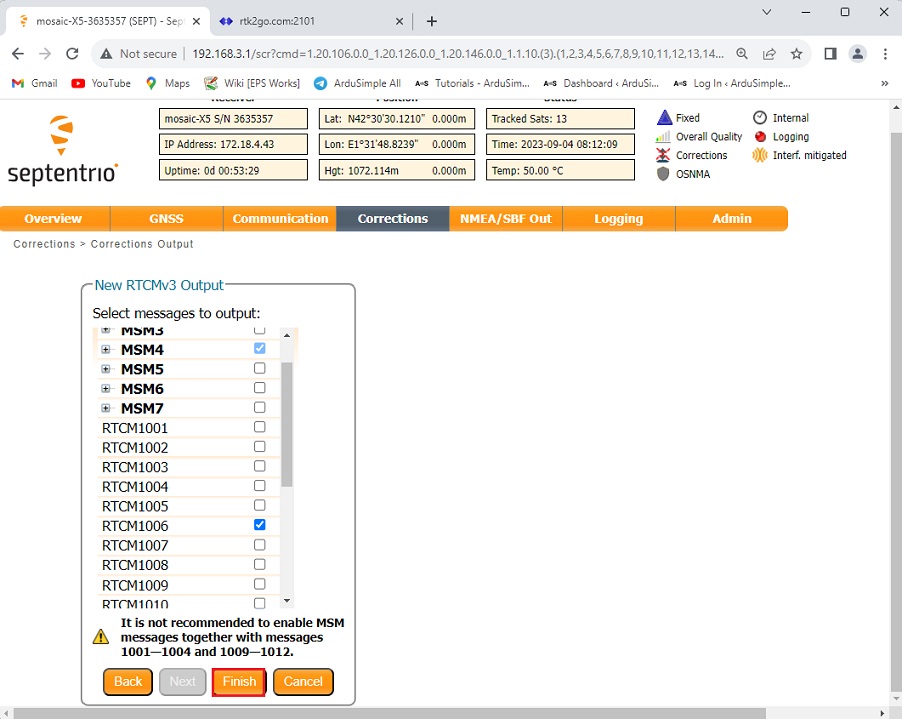
- Select RTCMv3 Output, and the default selection including MSM4, 1006, 1033 and 1230 is already quite good and compatible with most of the systems. If you have special needs you can also set them here. Press Finish and Save configuration.
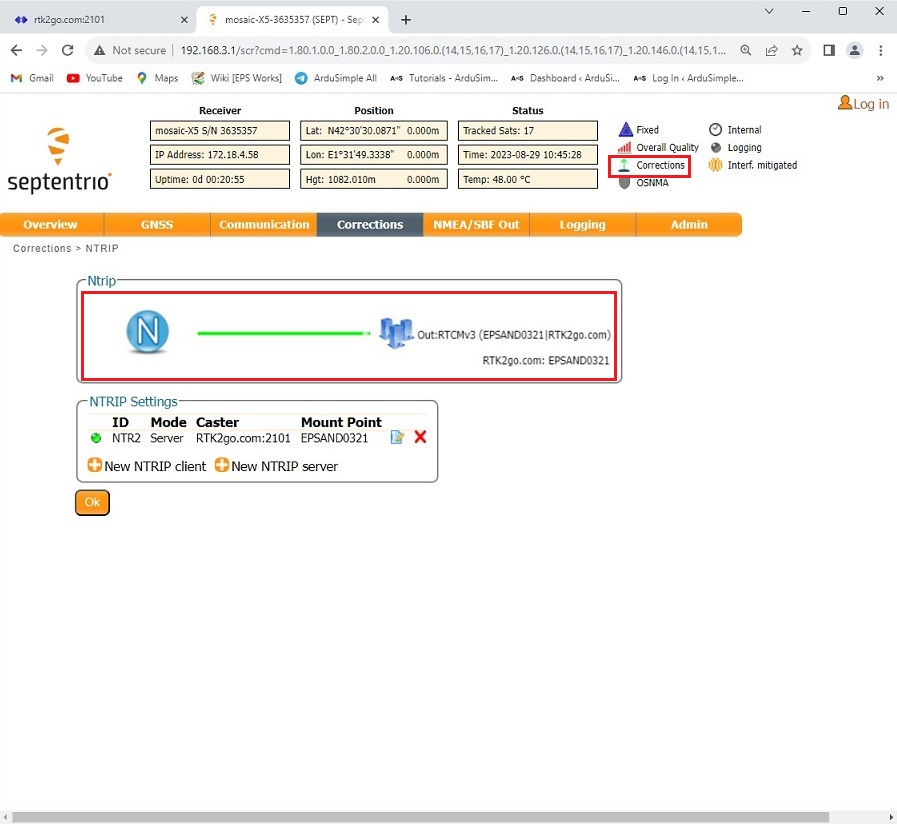
- You can see it is sending RTCM messages to your mount point on RTK2go. On the up-right corner of the screen, you can see the green arrow indicating data flow next to Corrections.
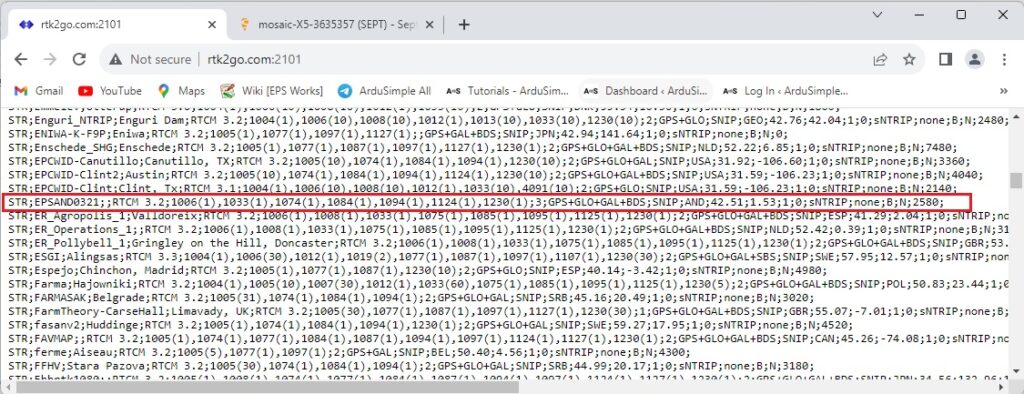
- You can go to RTK2go.com to check if everything works well. Now you can use any NTRIP Client to connect to your mountpoint.
Check our tutorial How to get paid for installing and sharing your base station with Onocoy for detailed information.
Enable radio link (optional)
To enable radio link functionality, you will need to add:
-
Plugins
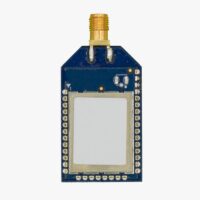
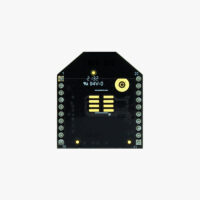
Radio module Long Range (LR)
101,00€ This product has multiple variants. The options may be chosen on the product page -
Plugins
Radio module eXtra Long Range (XLR)
161,00€ This product has multiple variants. The options may be chosen on the product page
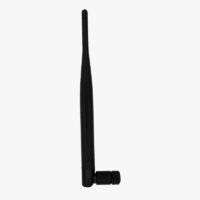
Note that Dipole antenna for Long Range and Extra Long radio should be ordered separately.
-
Accessories
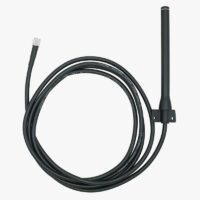
Vehicle Mount LR/XLR Antenna
48,00€ This product has multiple variants. The options may be chosen on the product page
This section provides an integration guide on adding a radio interface to your RTK Base Station for transmitting RTCM corrections via radio.
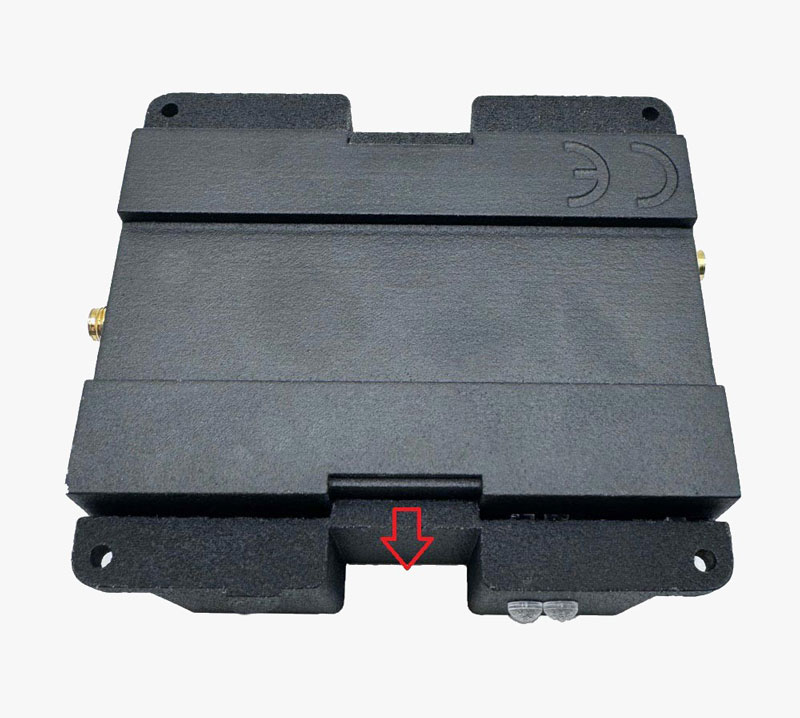
- Pull the outer edge outward to open the box.
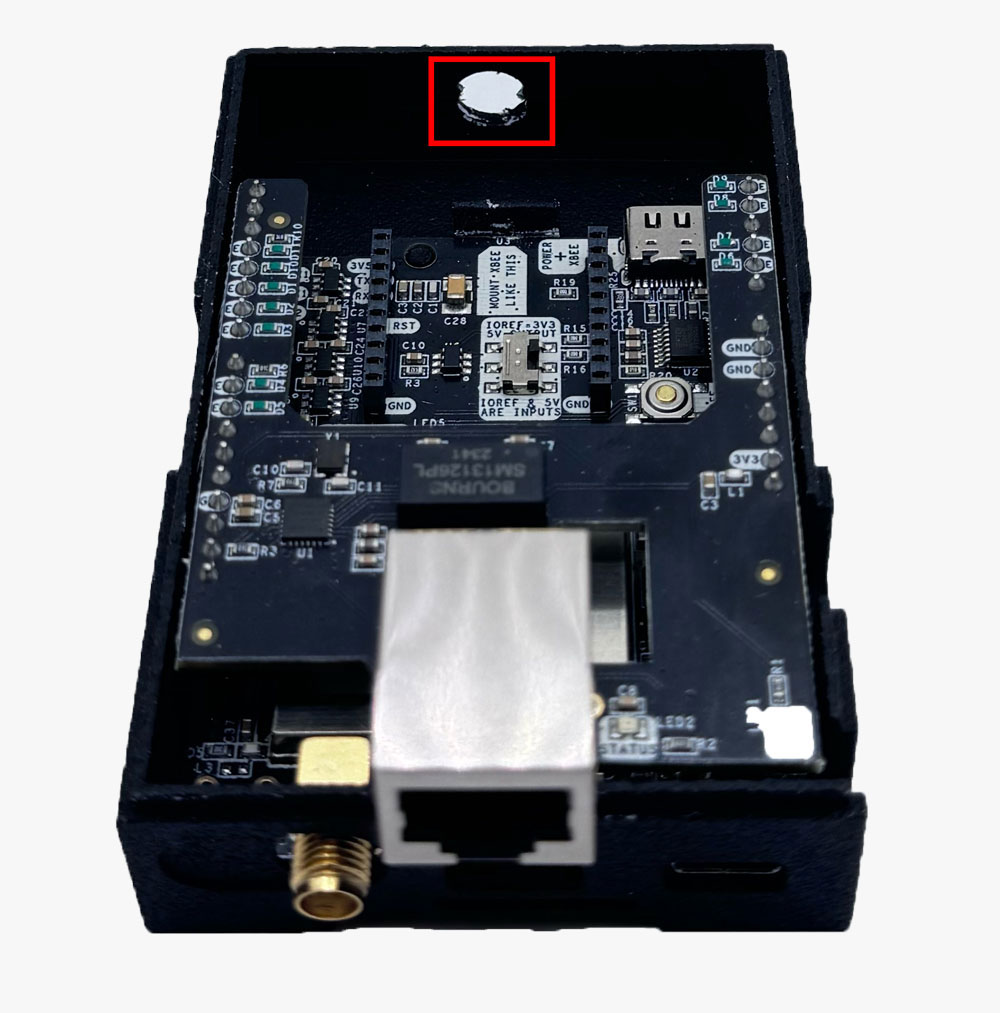
- Use a knife or screwdriver to remove the pre-cut hole.
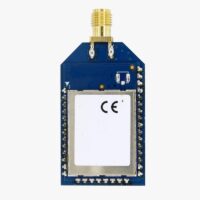
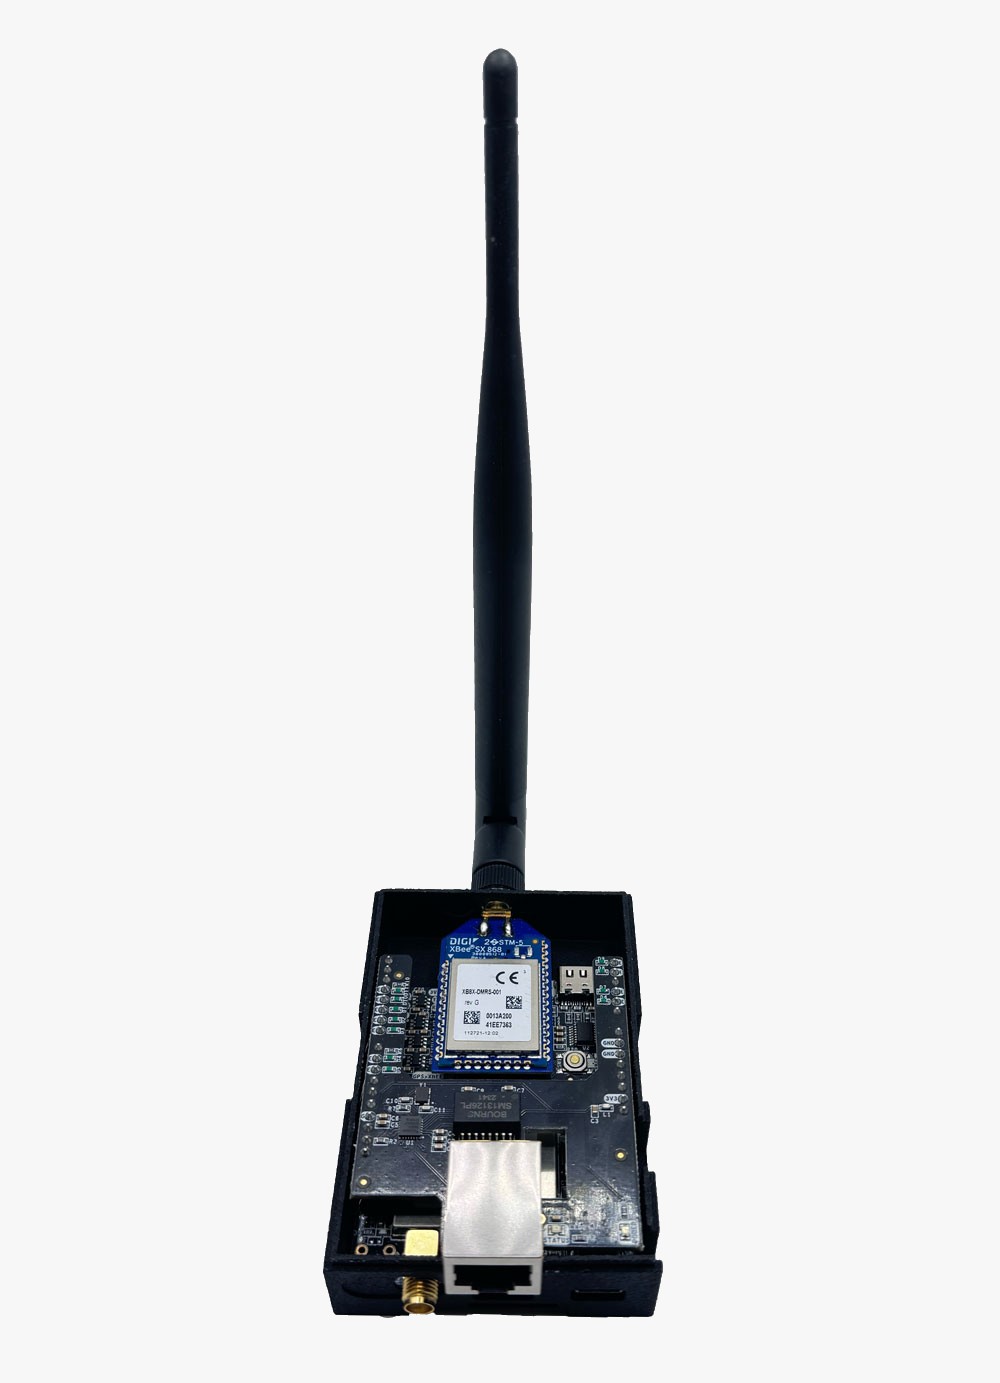
- Mount the radio module on the XBEE-Socket and connect the radio antenna.
- Close the box and connect your RTK Base station to a PC via USB.
- At Septentrio web interface, go to Corrections–>Corrections Output–>+New RTCMV3 output.
- Choose Serial port–>COM2.The default selection including MSM4, 1006, 1033 and 1230 is already quite good and compatible with most of the systems. If you have special needs, you can also set them here. Press Finish and Save configuration.
- The correction data will be sent through radio. Your rover can receive RTCM correction via radio.
Related tutorials
- How to determine the exact position of your base station with simpleRTK3B Pro
- How to configure simpleRTK3B Pro as static base station
- How to share your triple-band Septentrio base station with RTK2go via Septentrio Native Ethernet
- How to get paid for installing and sharing your base station with Onocoy
Accessories
-
Plugins
Radio module Long Range (LR)
101,00€ This product has multiple variants. The options may be chosen on the product page -
Plugins
Radio module eXtra Long Range (XLR)
161,00€ This product has multiple variants. The options may be chosen on the product page
 and
and 

