
 and
and 

How to send NTRIP corrections to ArduPilot with MissionPlanner, QGroundControl and MAVProxy

On this page
Products used in this tutorial
Table of contents
There are internet-based services that offer correction data from base stations linked to that service. This data is transmitted over the internet using the NTRIP protocol. Software platforms like Mission Planner and QGroundControl can connect to these servers and forward the correction data to the vehicle or drone via a MAVLink connection.
This tutorial will cover how to configure Mission Planner and QGroundControl to send RTK corrections to the autopilot using an NTRIP online service. The steps are the same for simpleRTK2B Budget, simpleRTK2B Lite (u-blox ZED-F9P) and simpleRTK3B Pro (Septentrio Mosaic X5) receivers.
If you prefer to use your own base station to send RTK corrections, please follow the How to send RTK base station corrections to ArduPilot with Mission Planner, QGroundControl and MAVProxy tutorial.
Required hardware
- simpleRTK2B Heading – Basic Starter Kit
- USB to USB-C cable
- Pixhawk cable set
- Holybro Pixhawk 6C (you can use your preferred autopilot)
- PC or laptop with an internet connection
Required software
- Mission Planner or QGroundControl
- MAVProxy (only in case of QGroundControl)
How to send NTRIP corrections to ArduPilot using Mission Planner or QGroundControl
Configure and connect the receiver
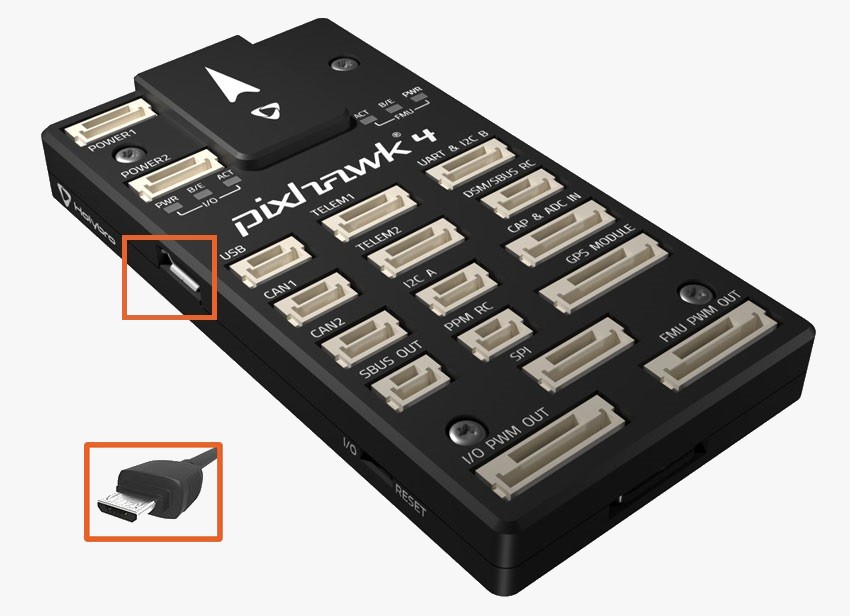
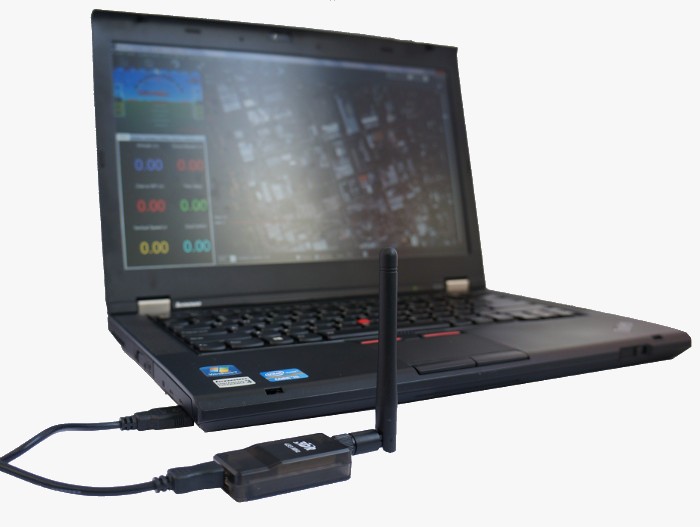
- Screw the antenna SMA connectors to the receivers by hand, and make sure you place antennas in a place with a clear non-obstructed sky view.
- Connect the receivers to the autopilot, and check that you have a GPS lock.
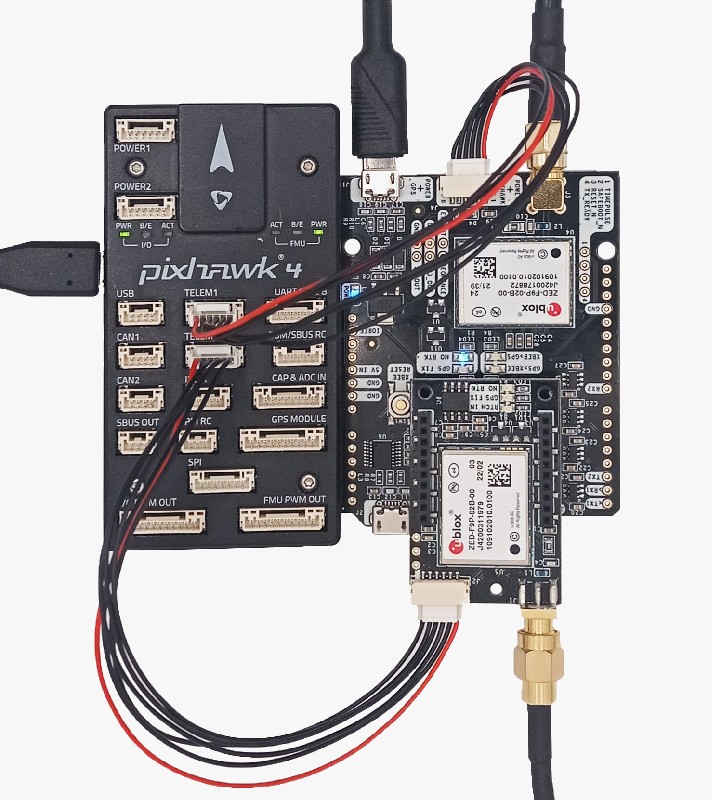
Send RTK corrections from a ground station using an NTRIP service
If you are unsure about available NTRIP service nearby, we have prepared a list of services operating in your country to assist you.
- Open MissionPlanner and connect your autopilot via a COM port.
- Go to SETUP -> Optional Hardware -> RTK/GPS Inject.
- Select NTRIP from the dropdown box and press Connect. A popup window will appear, enter your NTRIP caster credentials in the following format.
- user:pass@host:port/mountpoint
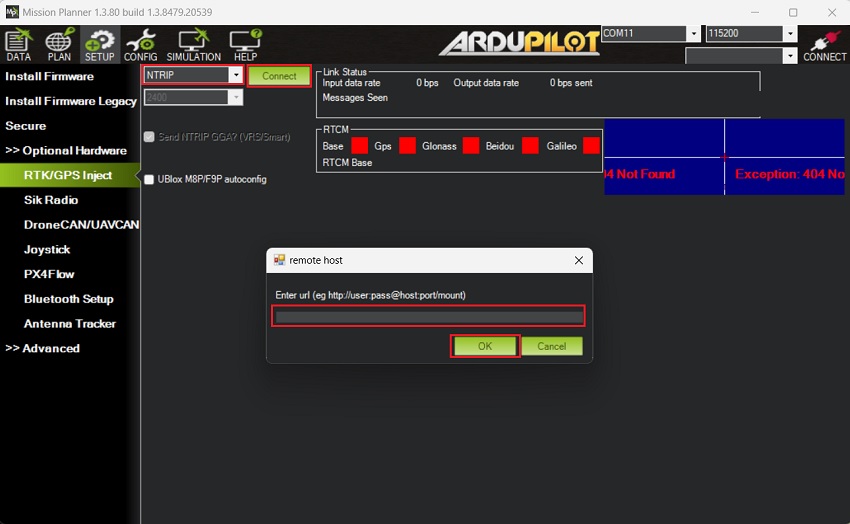
- You will find a summary of GPS signals available and generated RTCM messages, as well as the position of the base station on the map.
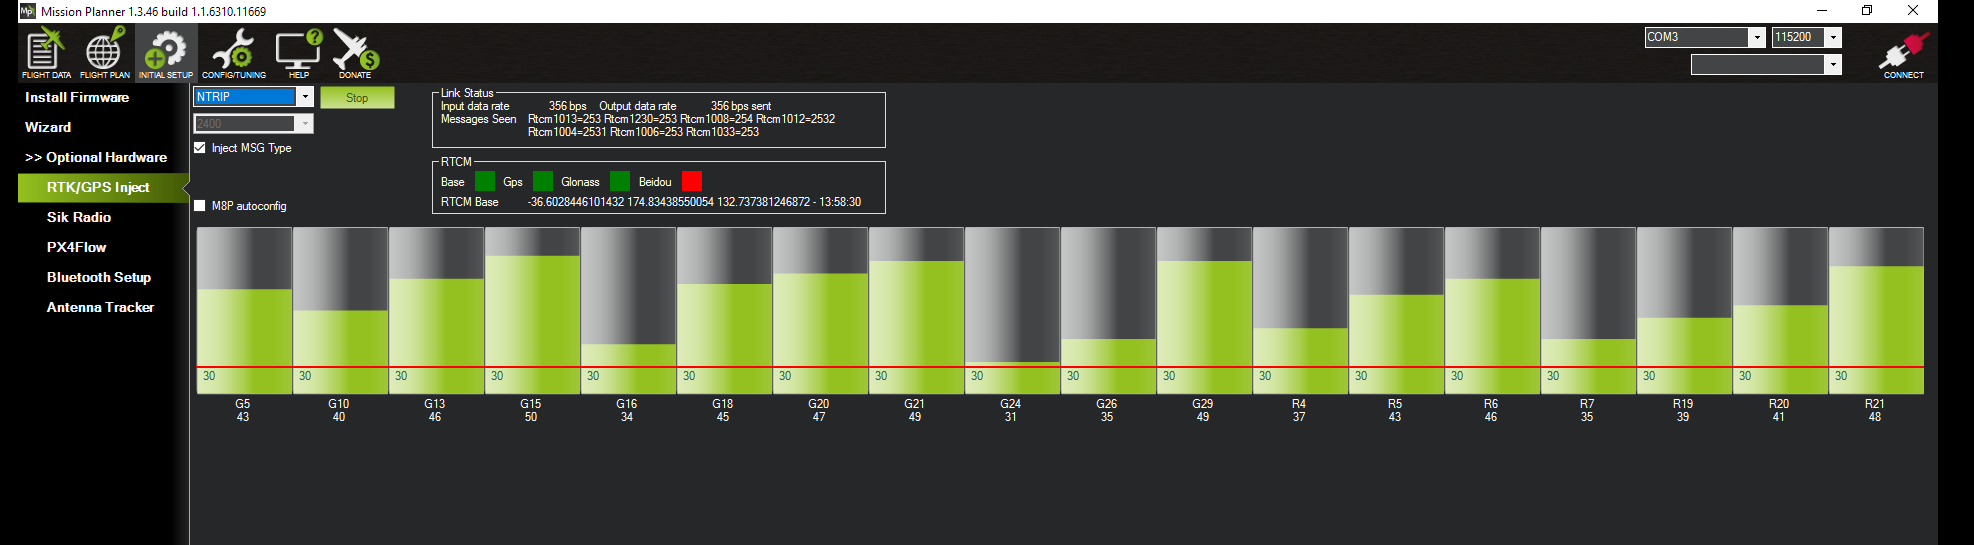
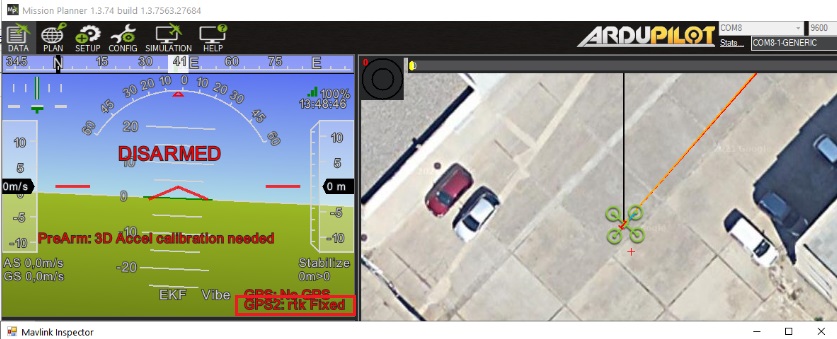
- In a few seconds, your RTK receiver will get RTCM corrections and the Mission Planner GPS switch to RTK Float/Fixed mode.
- Open QGroundControl and run MAVProxy.
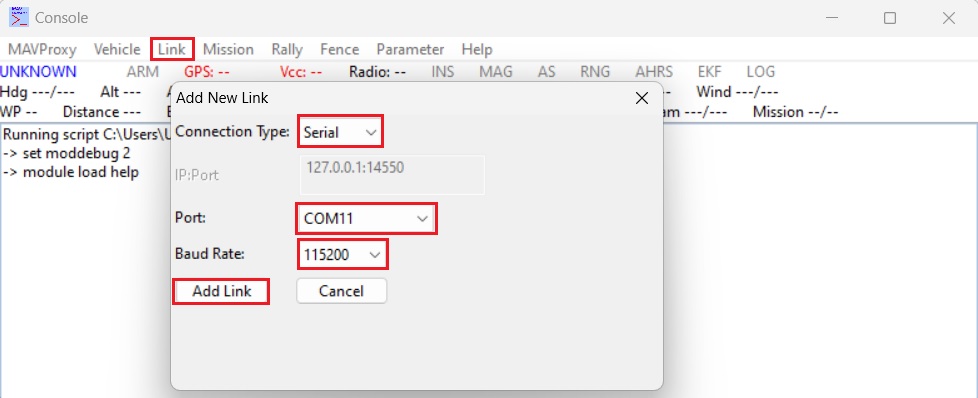
- In MAVProxy go to Link -> Add -> Serial and select the telemetry link or autopilot COM port and baudrate (typically the USB connection data rate is 115200 and the radio connection rate is 57600). Press Add Link.
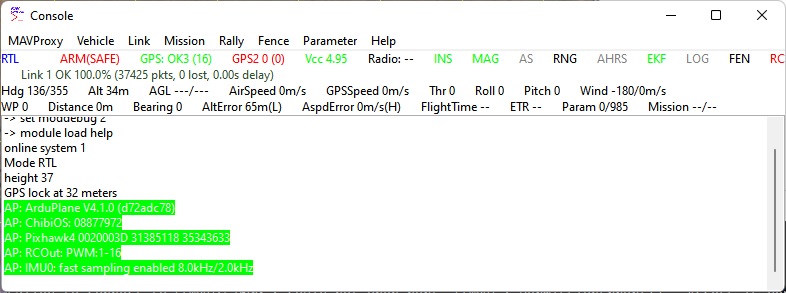
- Your MAVProxy screen should look similar to the image below.
- In the MAVProxy terminal window type (replace XXXXX with your NTRIP credentials):
- module load ntrip
- ntrip set caster XXXXX
- ntrip set port XXXXX
- ntrip set mountpoint XXXXX
- ntrip set username XXXXX
- ntrip set password XXXXX
- ntrip start
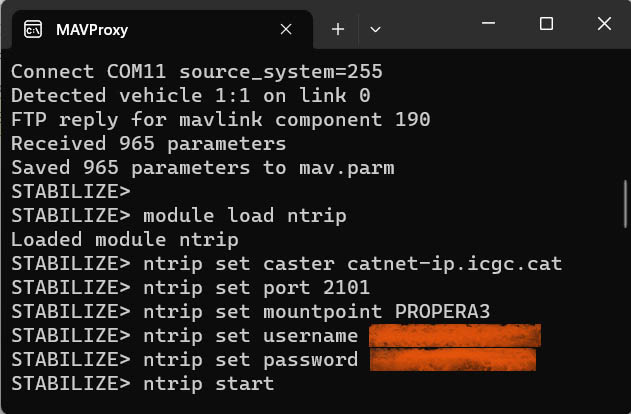
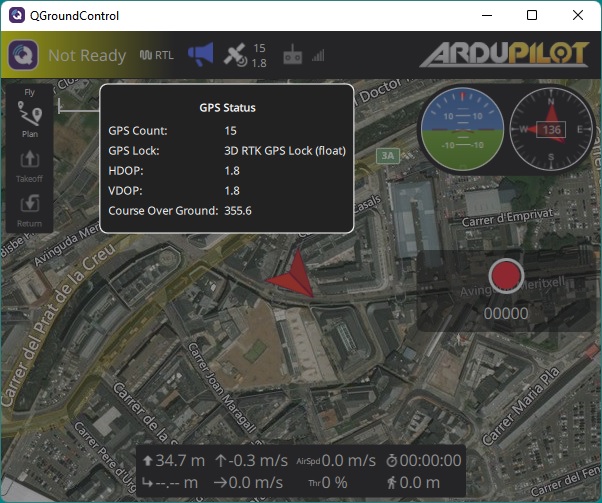
- The GNSS receiver will start receiving RTCM correction messages from the NTRIP service and switch to RTK float/fixed mode.
Related products
If you want to do this tutorial, we have all the products in stock and ready to be shipped.
- RTK starter kits
simpleRTK2B Heading – Basic Starter Kit
414,00€ This product has multiple variants. The options may be chosen on the product page -

-
Still having issues?
Contact us for support from a real engineer—not AI—or request the tutorial you’re missing