How to connect your simpleRTK2B to a Raspberry Pi
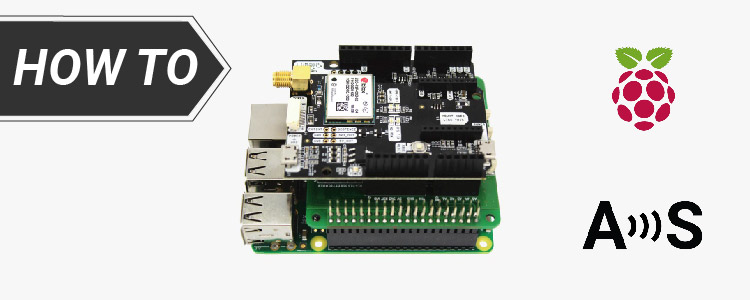

Some users have asked us how can they connect their ArduSimple boards to a Raspberry Pi and we have prepared this guide to show all the necessary steps.
Notice that there are many different models of Raspberry Pi, to prepare this tutorial we have used Raspberry Pi 4 Model B.
In this tutorial, we will use a remote connection to the Raspberry Pi to avoid the need for a dedicated keyboard, mouse, or screen for the Raspberry Pi. If you already have these peripherals, you can skip all the steps related to the remote connection.
Required hardware:
- simpleRTK2B Budget – Headers soldered
- Raspberry Pi adapter for simpleRTK
- u-blox GNSS Multiband antenna ANN-MB-00(IP67)
- Raspberry Pi 4 Model B (this tutorial will probably work with any model)
- charger with USB-C cable for powering Raspberry Pi
- microSD card for the Raspberry Pi OS
- computer for remote connection (we use Windows 10 for this tutorial)
- Ethernet cable (RJ45)
Required software:
How to connect your simpleRTK2B to a Raspberry Pi?
Firstly, install Raspberry Pi operation system.
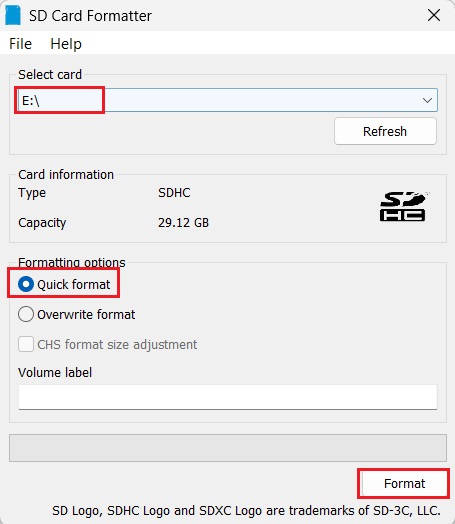
- Connect the microSD card to your computer. Run SDFormatter and select the SD card drive. Check Quick format. Click Format.
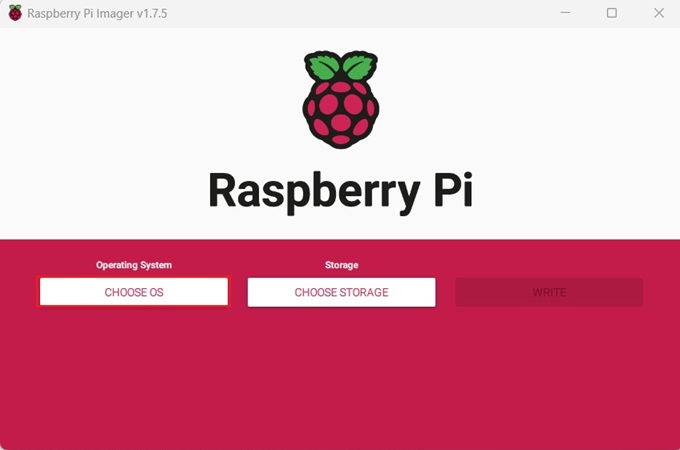
- Run Raspberry Pi imager as administrator. Click CHOOSE OS.
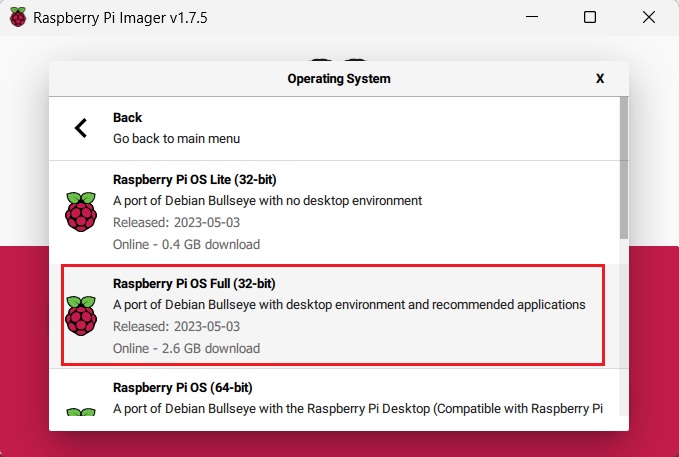
- Choose Raspberry pi OS (other)–>Select Raspberry Pi OS Full with desktop environment and recommended applications.
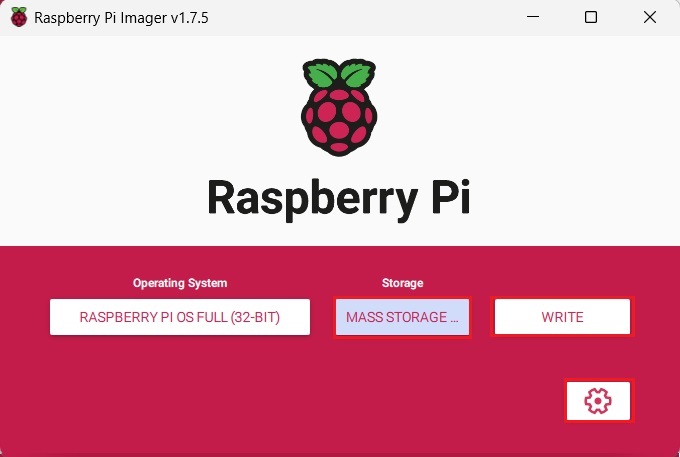
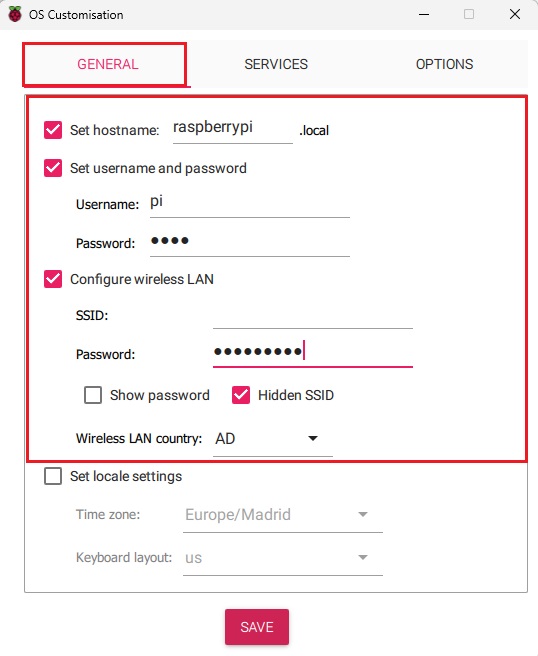
- At Storage select your SD card. Click the Gear icon on right corner.
- Here you can setup your Username and Password for logging into Raspberry Pi. And your WiFi name and password.
- Click SAVE and WRITE.
- With the microSD card still in your computer, open the BOOT drive.
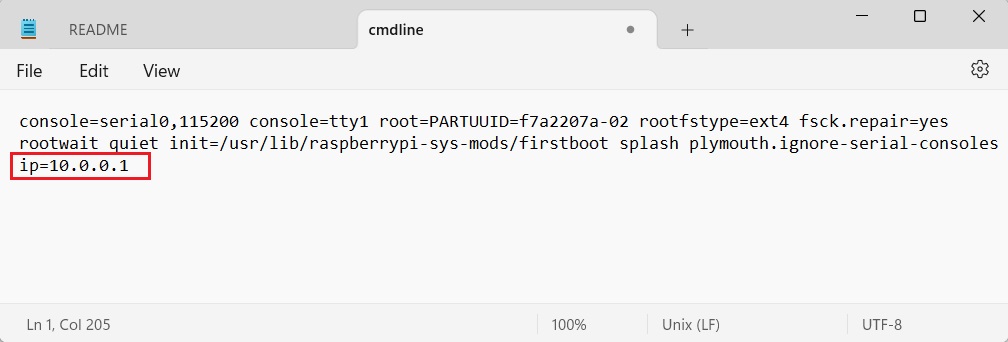
- Open the file cmdline.txt with a text editor and add the following text at the end: ip=10.0.0.1 and save the file.
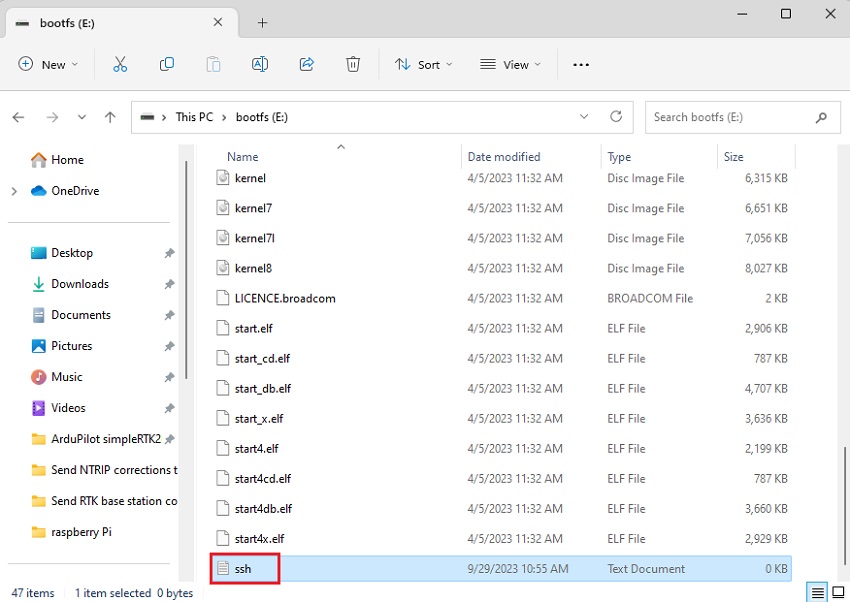
- Create a new empty file in BOOT called ssh, without any extension (you can create a txt file and remove the extension).
- Eject the card from Windows.
Secondly, setup remote connection.
If you have a screen and keyboard for your Raspberry Pi, you can skip second steps and continue from step 19.
- Go to the Windows Control panel–>Network and Internet–>Network connections.
Make sure your Ethernet connection is enabled (if not, right click on Ethernet and select enable).
- Right click on the Ethernet connection–>Properties–>Select Internet Protocol Version 4 (TCP/IPv4)–>Click Properties button.
- Set addresses as in the picture below, click OK.
- Insert the microSD card into your Raspberry Pi.
Connect an Ethernet cable between Raspberry Pi and your computer.
Power your Raspberry Pi, wait a few seconds. - Open PuttY application and set Host Name to 10.0.0.1, click Open (acknowledge all warnings).
- A command prompt will open, use the Username and Password you set in step5.
- Congratulations, you have remote access to your Raspberry Pi!
Thirdly, configure Raspberry Pi UART to communicate with GNSS receiver.
- On terminal, run sudo raspi-config.
- Select 5 Interfacing Options.
- Select Serial.
- Choose <No> at ‘Would you like a login shell to be accessible over serial?’
- Choose <Yes> at ‘Would you like the serial port hardware to be enabled?’
- Choose <Ok> and <Finish>.
- When asked to reboot, choose <Yes>, PuttY session will close automatically.
Fourthly, testing communications.
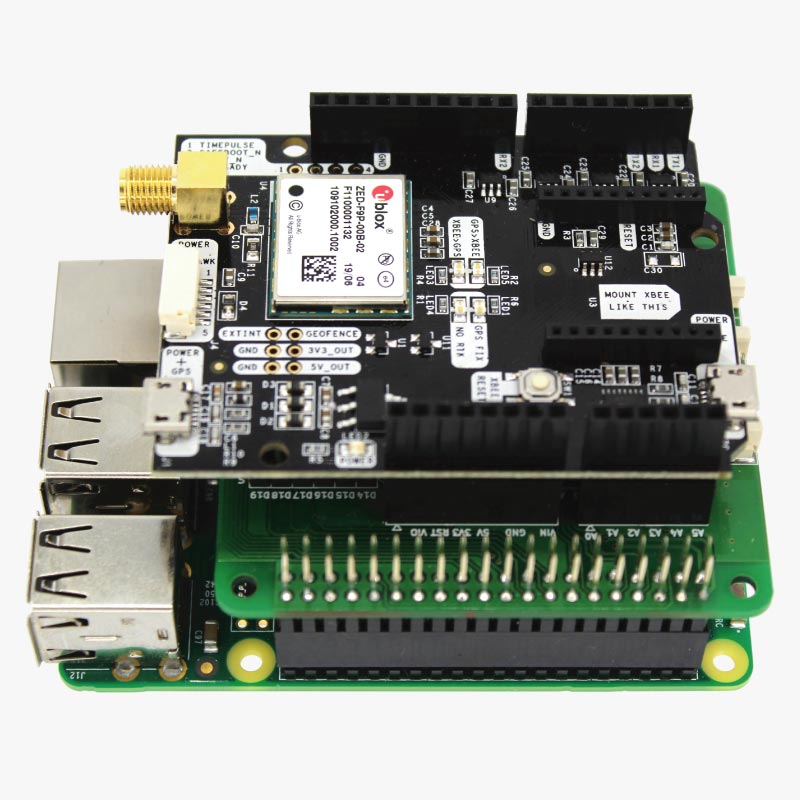
- Connect your receiver (with default configuration) to the Raspberry Pi with the Raspberry Pi adapter for simpleRTK.
If you have a simpleRTK3B Pro, go to 192.168.3.1, enable NMEA output at COM1. Because with simpleRTK3B, any position output is disabled by default. If you don’t know how to do this, check the User Manual.
- Plug the GNSS antenna to your receiver.
- Open PuttY again and connect as in Step 2. Type: sudo nano test.py.
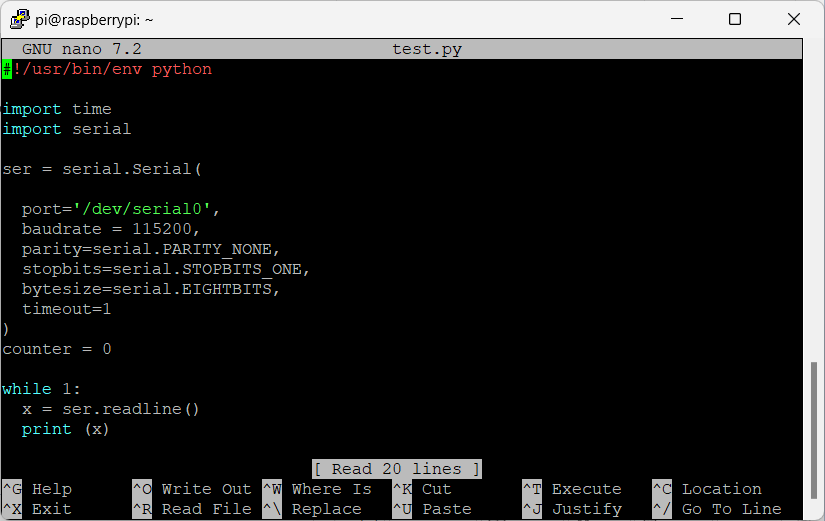
- Type or copy paste the following code:
#!/usr/bin/env python
import time
import serial
ser = serial.Serial(
port=’/dev/serial0′,
baudrate = 115200,
parity=serial.PARITY_NONE,
stopbits=serial.STOPBITS_ONE,
bytesize=serial.EIGHTBITS,
timeout=1
)
counter=0
while 1:
x=ser.readline()
print (x)
Note : if you have a newer version of the Raspberry Pi, your serial port might be called dev/ttyAMA0 instead of dev/serial0. Check how your Raspberry pi names the UART on pins 14 and 15
-
This is a script that will read information from the GNSS receiver.
The baudrate configuration is valid for the default configuration of the simpleRTK2B and can be changed if needed.
- Press Ctrl+X and Save changes.
- Type: python test.py.
You should see incoming NMEA sentences like in the picture below.
- Press Ctrl+C to exit.
Congratulations, you can now read GNSS data streams in your Raspberry Pi!
Finally, GNSS diagnostics on your Raspberry Pi!
- Let’s enable the Raspberry Pi WiFi to connect to the Internet and download some sw packages. If you already enable your WiFi in step 5, you can skip this part and go to step 35.
Type sudo nano /etc/wpa_supplicant/wpa_supplicant.conf.
Add the network part as in the picture below, where ssid is your WiFi SSID and psk is your WiFi password.
- Press Ctrl+X and Save changes.
- Type sudo reboot, which will reboot your Raspberry Pi (and close the PuttY session).
- Open again the PuttY session.
Type sudo apt-get install gpsd gpsd-clients python-gps and wait for the package installation (acknowledge all warnings). - Type:
sudo systemctl stop gpsd.socket
sudo systemctl disable gpsd.socket
sudo gpsd /dev/serial0 -F /var/run/gpsd.sock
- Type gpsmon and you will see a monitor of the GPS status.
- Press Ctrl+X to exit the monitor.
- Type cgps for a lighter monitor.
- Press Ctrl+X to exit the monitor.
- Now you are ready to use your GNSS receiver on Raspberry Pi.
 and
and 

