Unboxing RTK Handheld Surveyor Kit
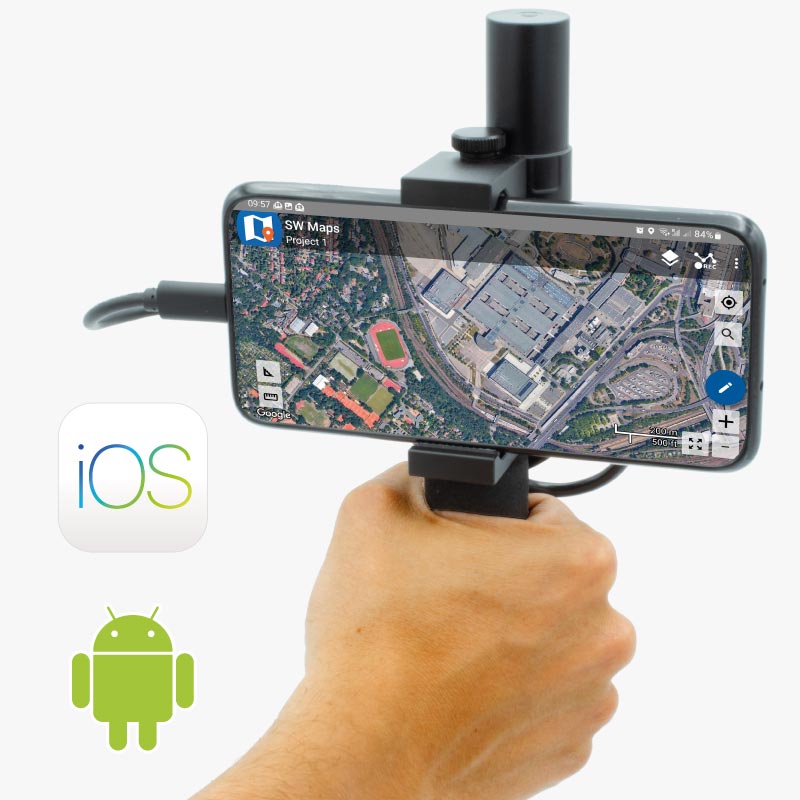

You got your new Handheld Surveyor Kit? First things first, follow this quick guidelines to get your kit set up for it.
Remember all the component parts of this professional kit:
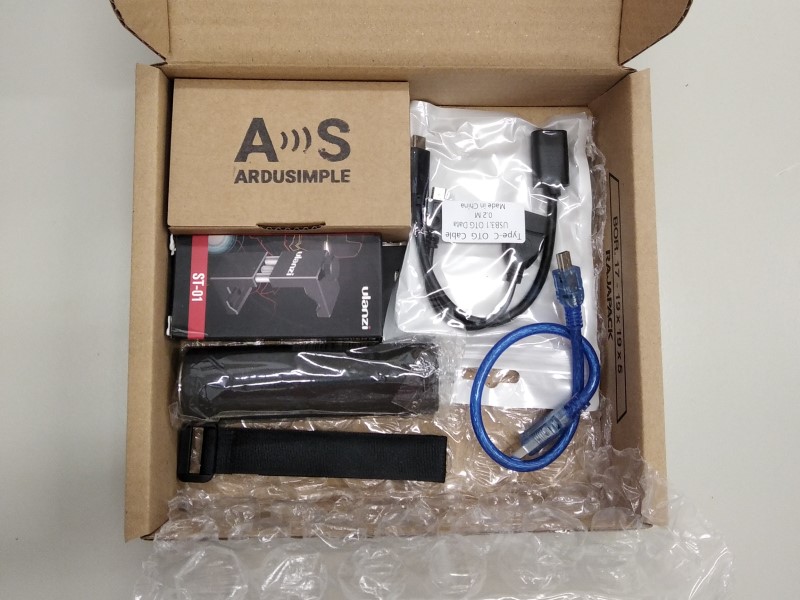
– simpleRTK2Blite with XBee to USB adapter
– Plastic case for simpleRTK2Blite
– Helical antenna
– Bluetooth 2.0
– Mini USB cable
– USB OTG microUSB-B (14cm)
– USB OTG type C (22cm)
– Universal smartphone holder
– Hand holder
– Velcro strap (20cm)
For building this kit, there is no need for special tools nor nothing of the sort, by hand will be enough.
- First, mount the smartphone holder to the hand holder. You will see that the screw end of the hand holder fits with the smartphone holder hole.
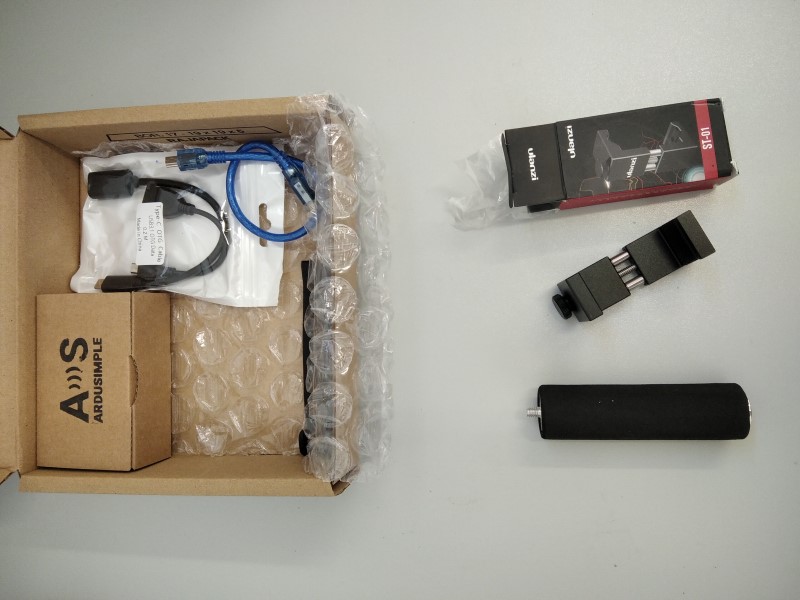
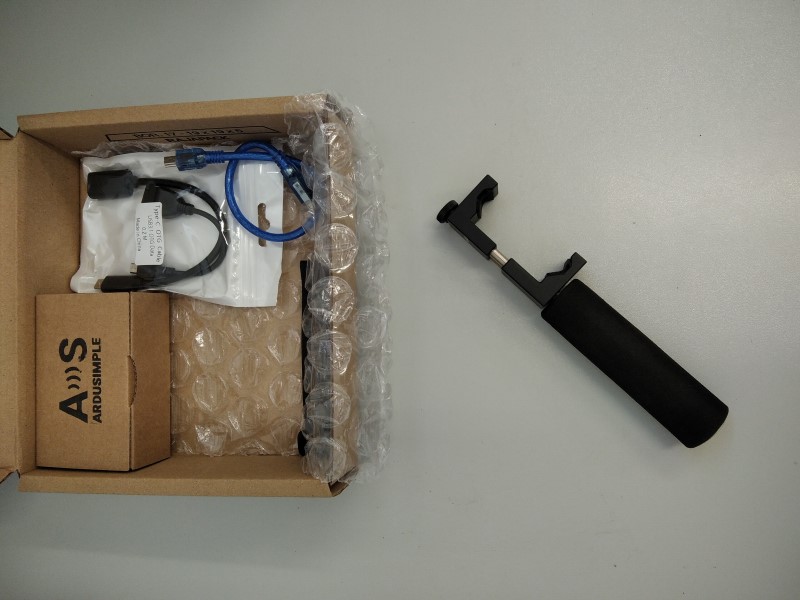
- Mount the plastic case (simpleRTK2Blite + Bluetooth 2.0 within) to the smartphone holder. You will find the plastic case in a small box along with the helical antenna. To do this, fit the flat edge of the case with the outer part of the smartphone holder with the SMA connector facing up, and fasten it together with the velcro strap.
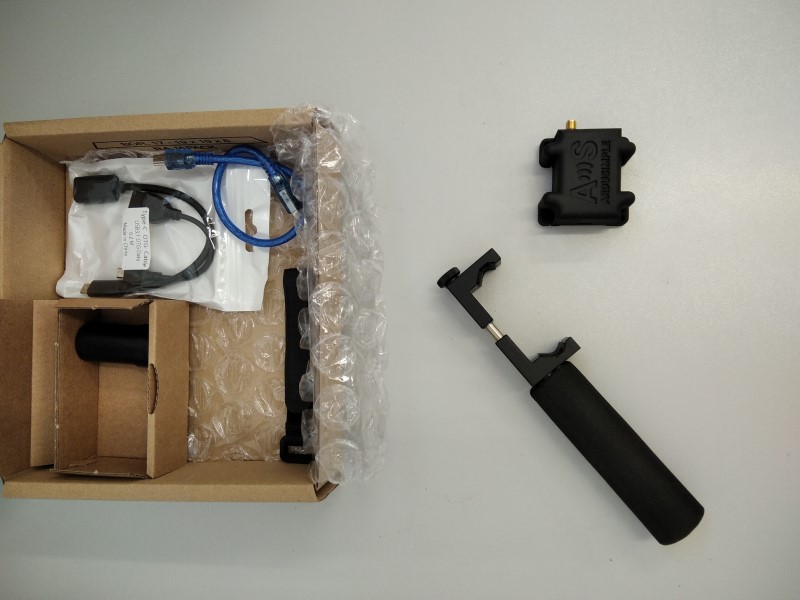
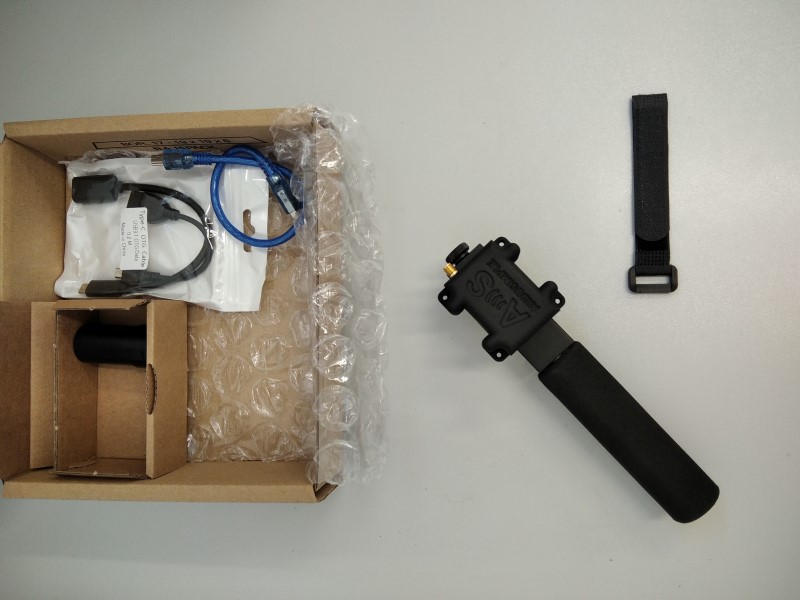
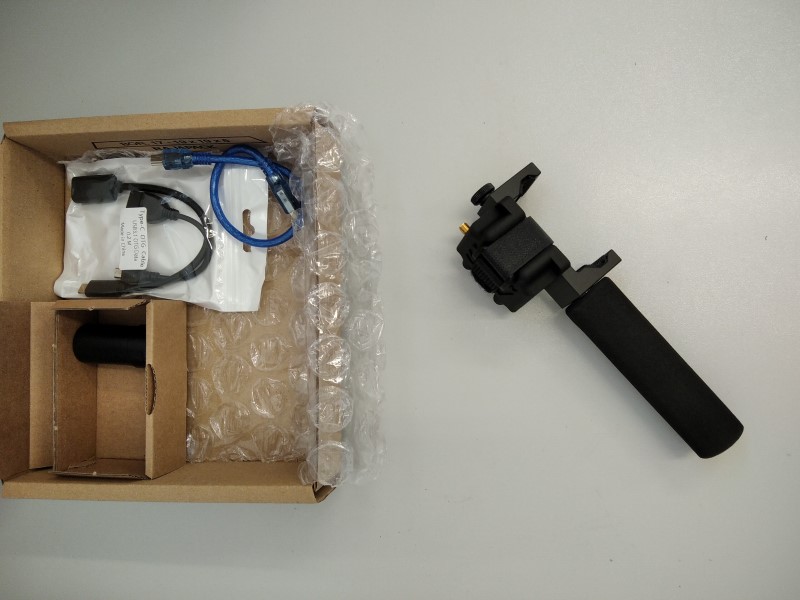
- Add the helical antenna on top of the simpleRTK2Blite screwing in the SMA connector.
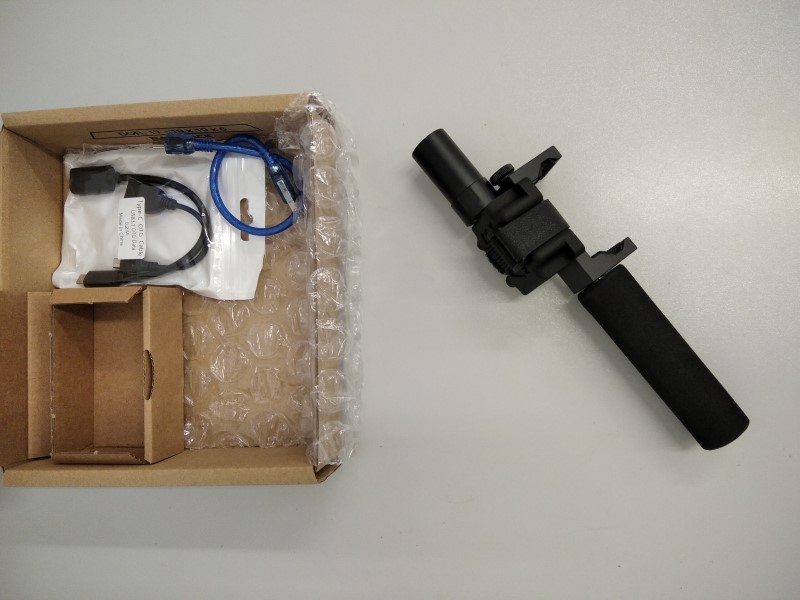
- Connect the mini USB cable to the mini USB board connector of simpleRTK2Blite.
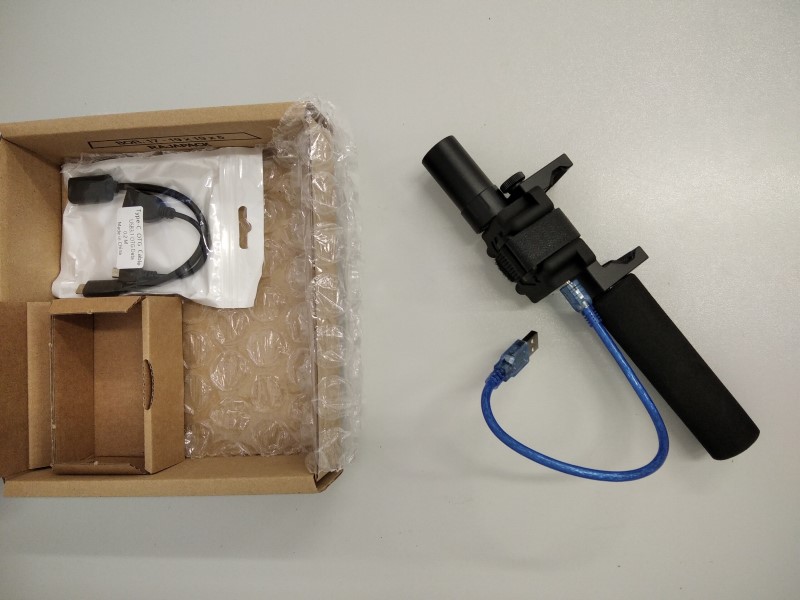
- Place your smartphone to the smartphone holder, adjusting it to the width of your phone.
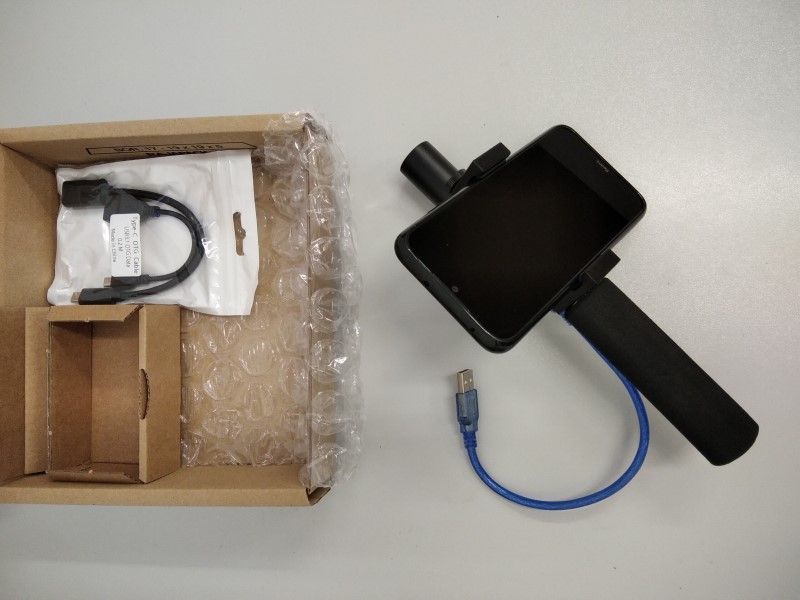
- Join the USB OTG to the mini USB cable and connect with your smartphone.
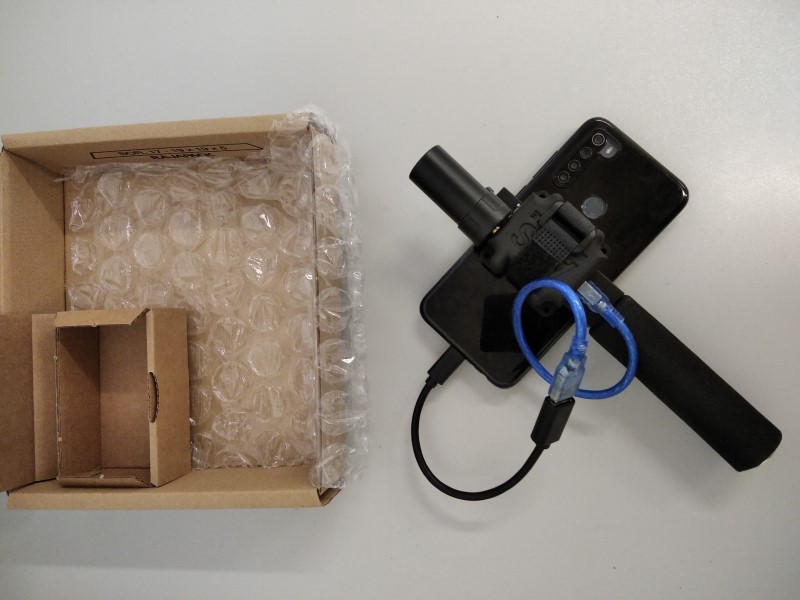
You have now your new Handheld Surveyor Kit built and ready to function!
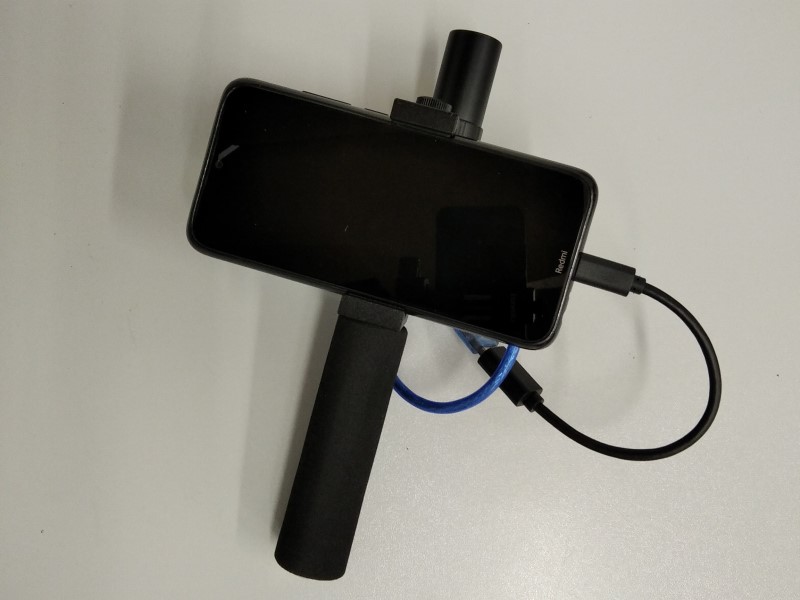
You will be able to follow the instructions for setting up your smartphone in ‘How to use Ardusimple products with Android smartphones/tablets‘.
 and
and 


