 and
and 
Auto
Geodetic
Auto
When the coordinates of base station are unknown, users can set the receiver to automatically positioning for a period of time and get the average value as the coordinates of the base station (similar as Survey-in mode of Ublox).
The absolute accuracy your rover will get from this method will be around 1-2m. But relative accuracy can reach 1cm.
Example where Auto is a good choice: In land surveying, the precise measurement of the distance between two points on the ground is more important than the absolute position of those points.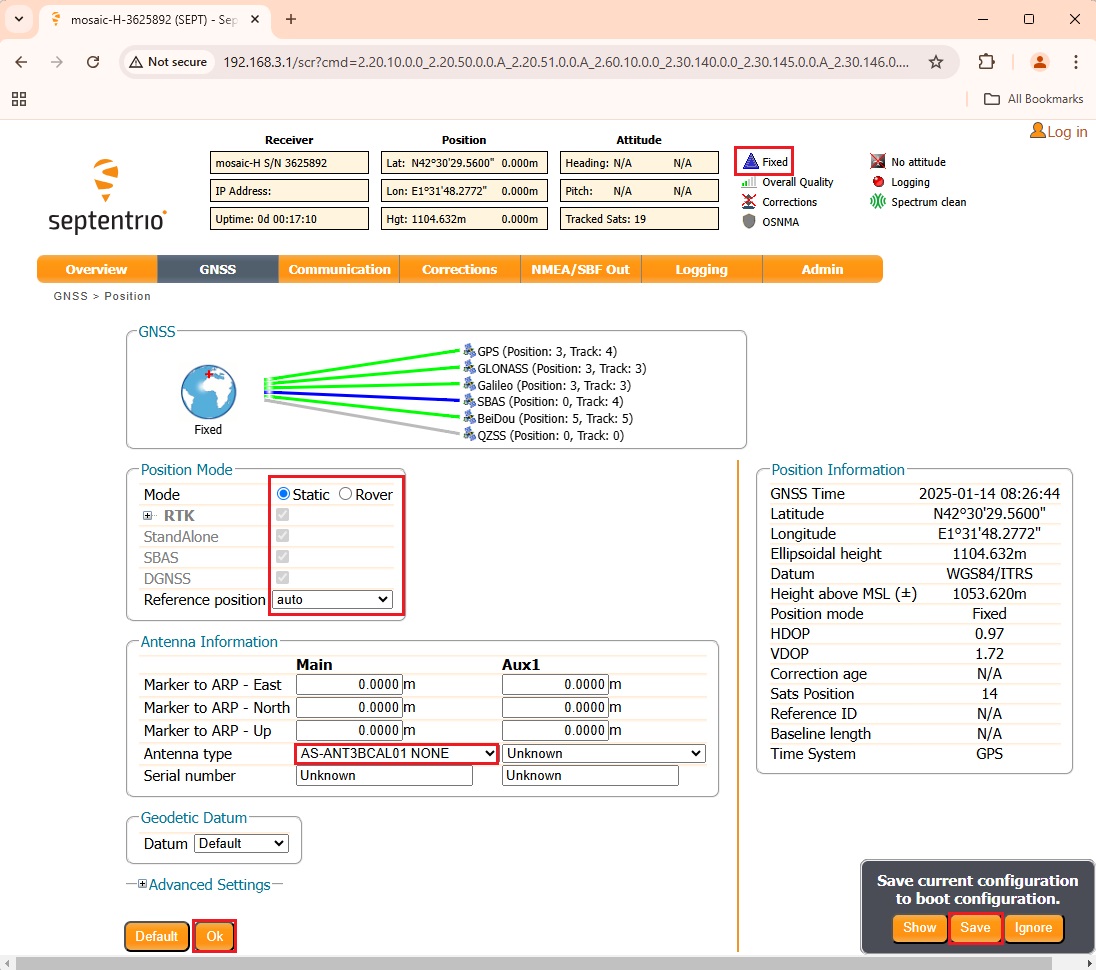
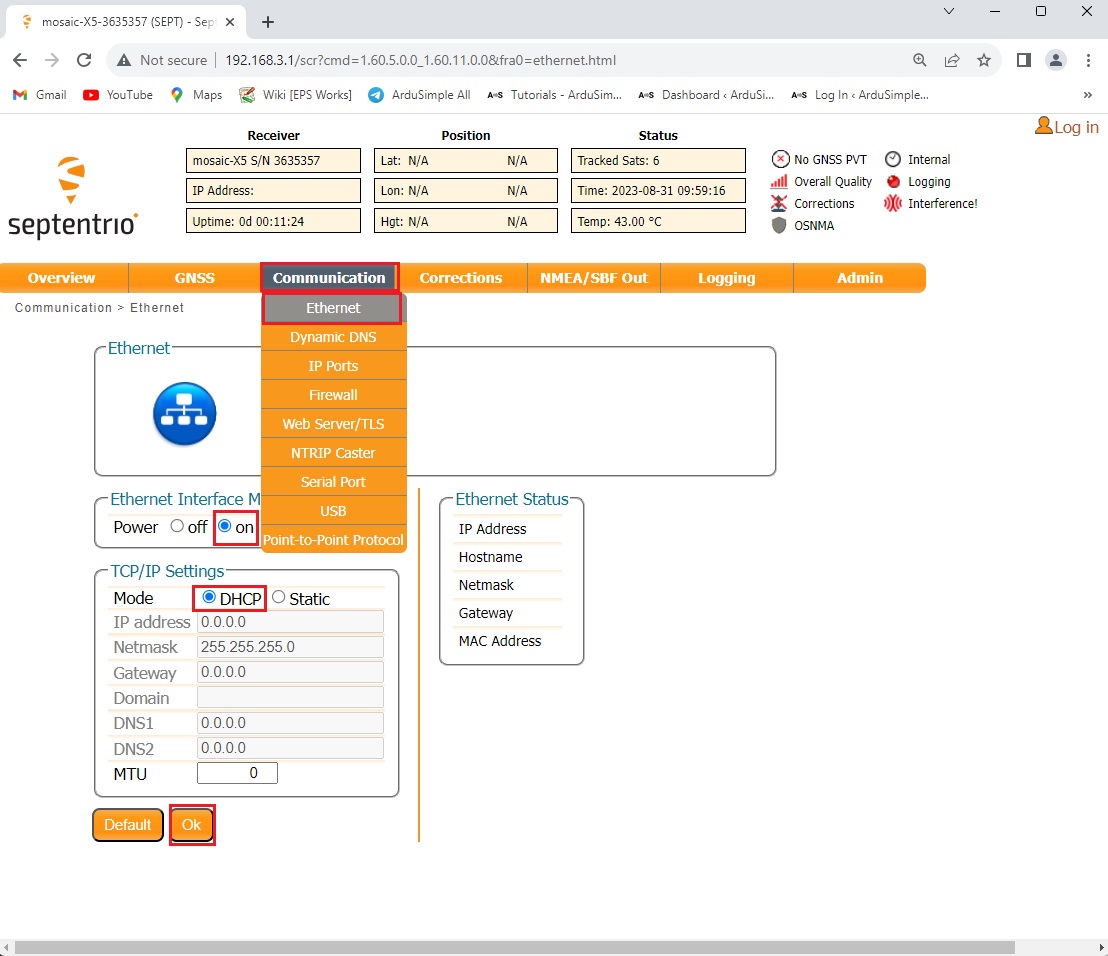
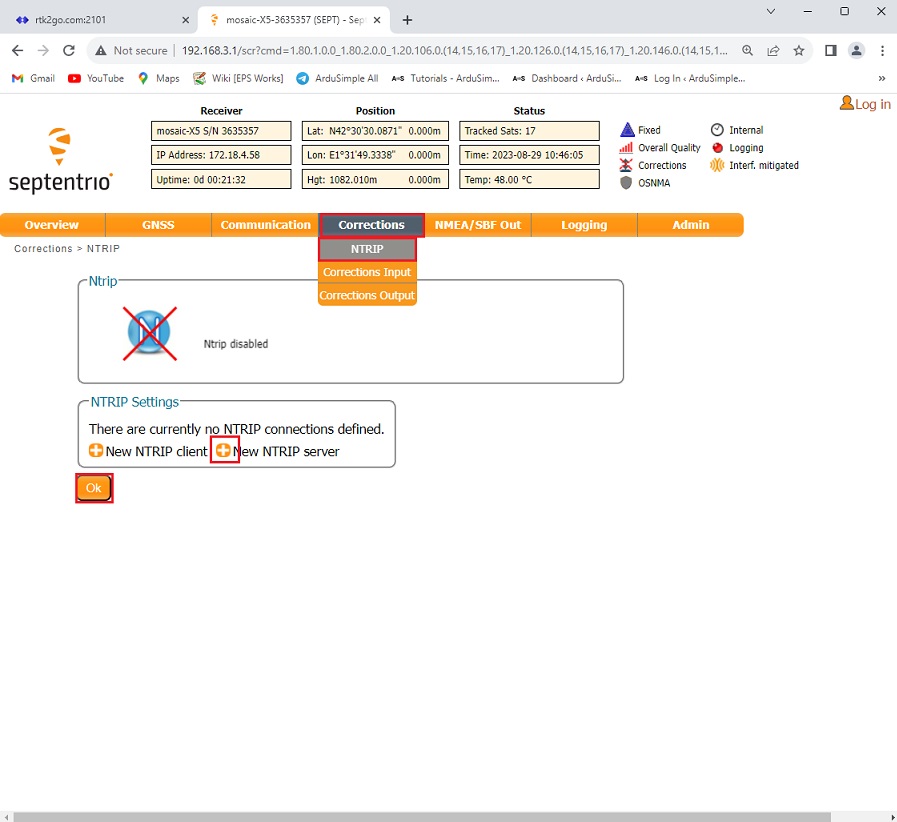
- At web interface, go to GNSS–>Position. At Mode choose Static, Reference position choose auto.
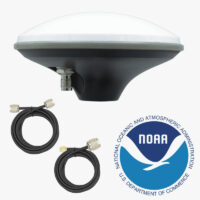
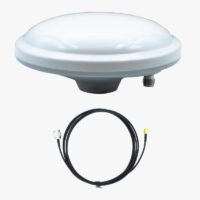
- If you are using a Calibrated Survey GNSS Tripleband + L-band antenna (IP67), at Antenna type choose AS-ANT3BCAL01 NONE, it will upload the antenna Calibration file.
- Press Ok and Save Configuration.
- In a few minutes, you should see the Position mode change to Fixed.
Geodetic
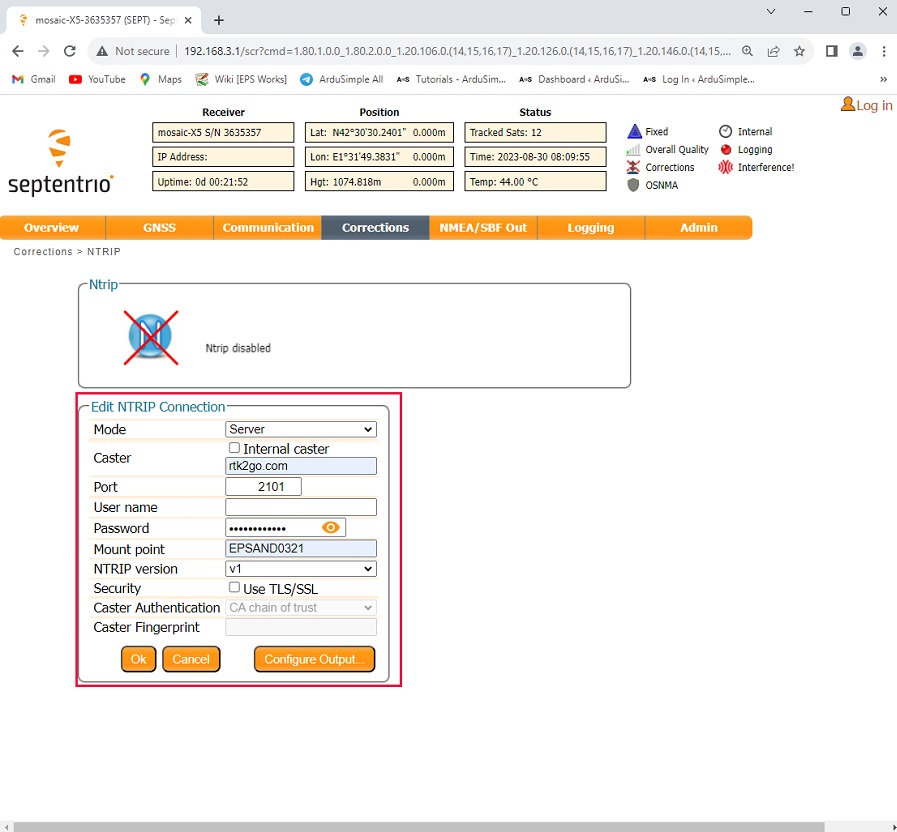
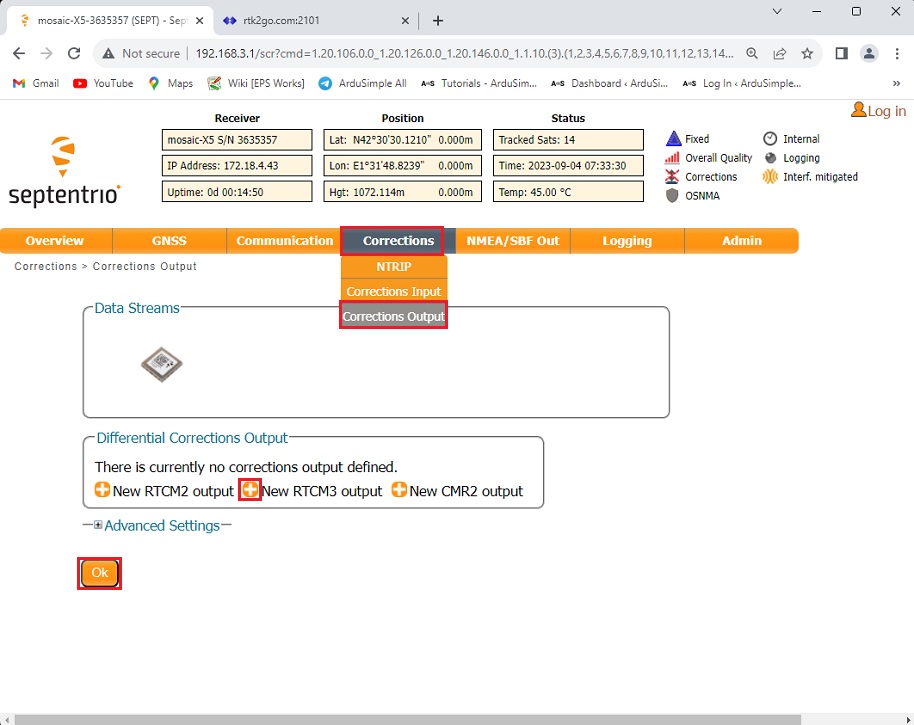
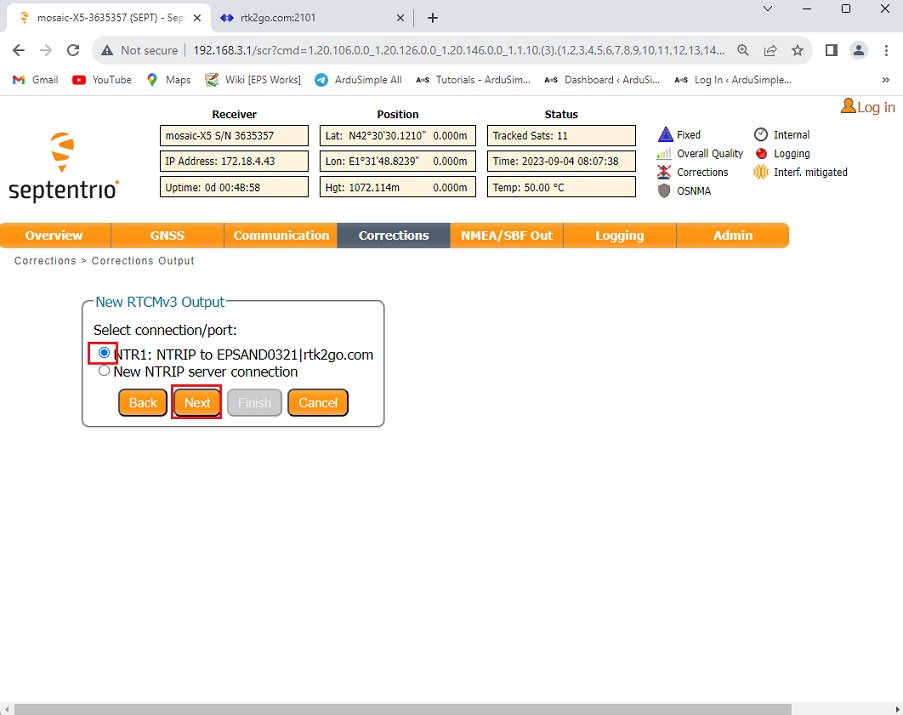
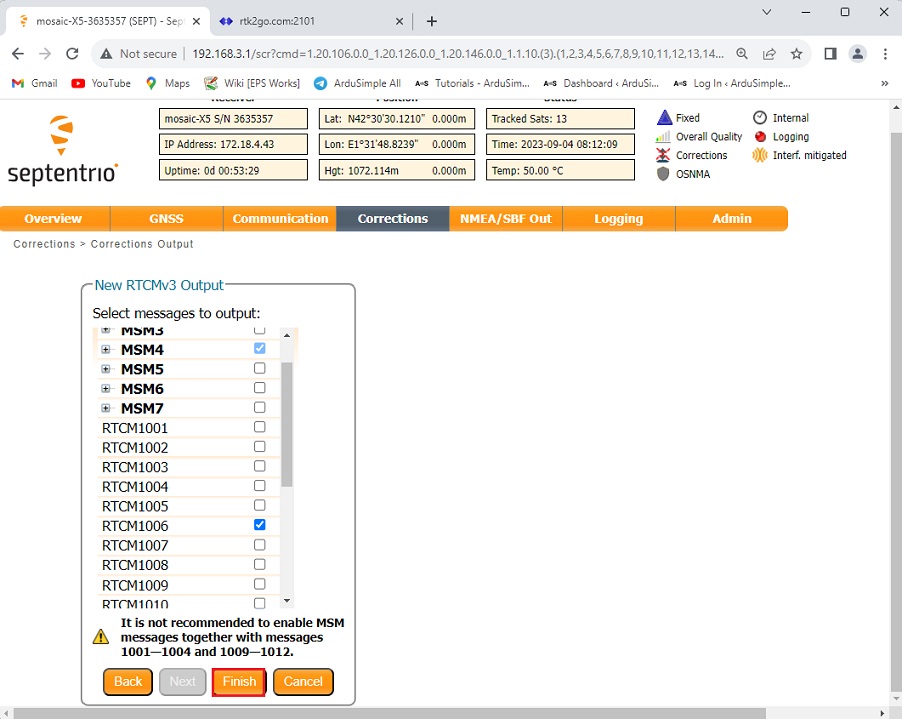
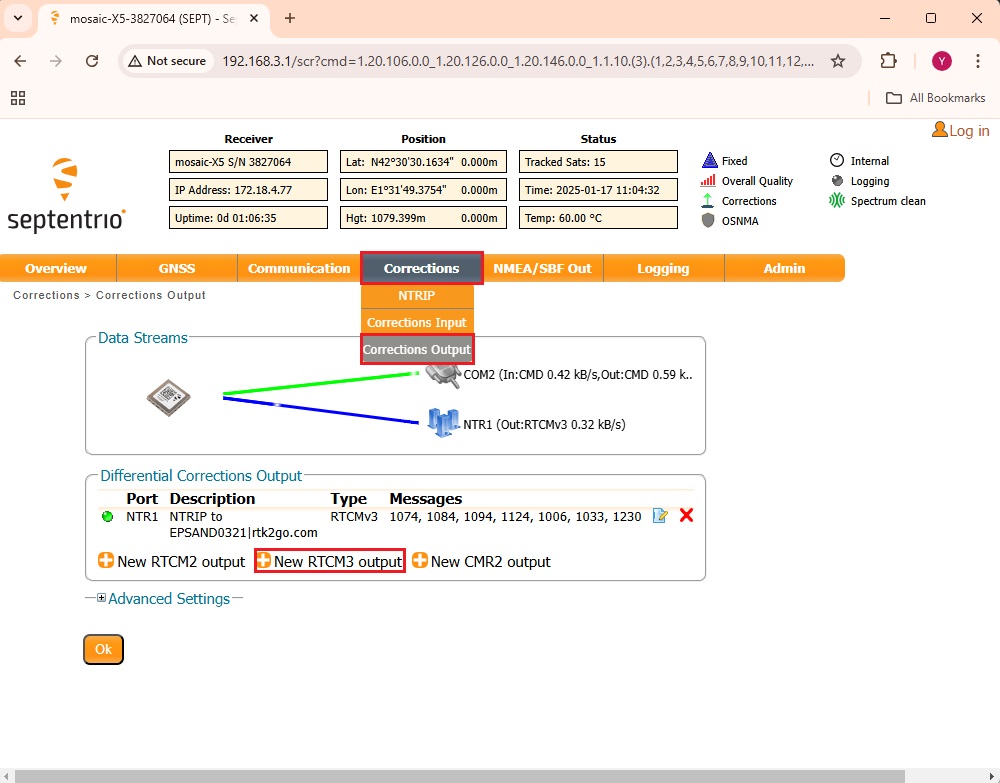
There are 3 ways to determine the coordinates of the base station.
You can refer to tutorial How to determine the exact position of your base station.
The absolute accuracy of your rover can reach to 1cm.
Example where Fixed position is a good choice: In autonomous vehicle navigation, the vehicle needs to know its precise location within a global reference frame to navigate accurately.


-
 Plugins
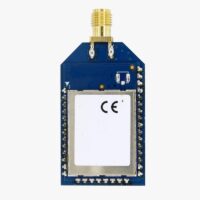
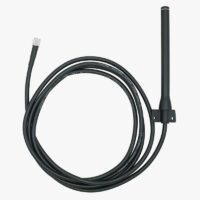
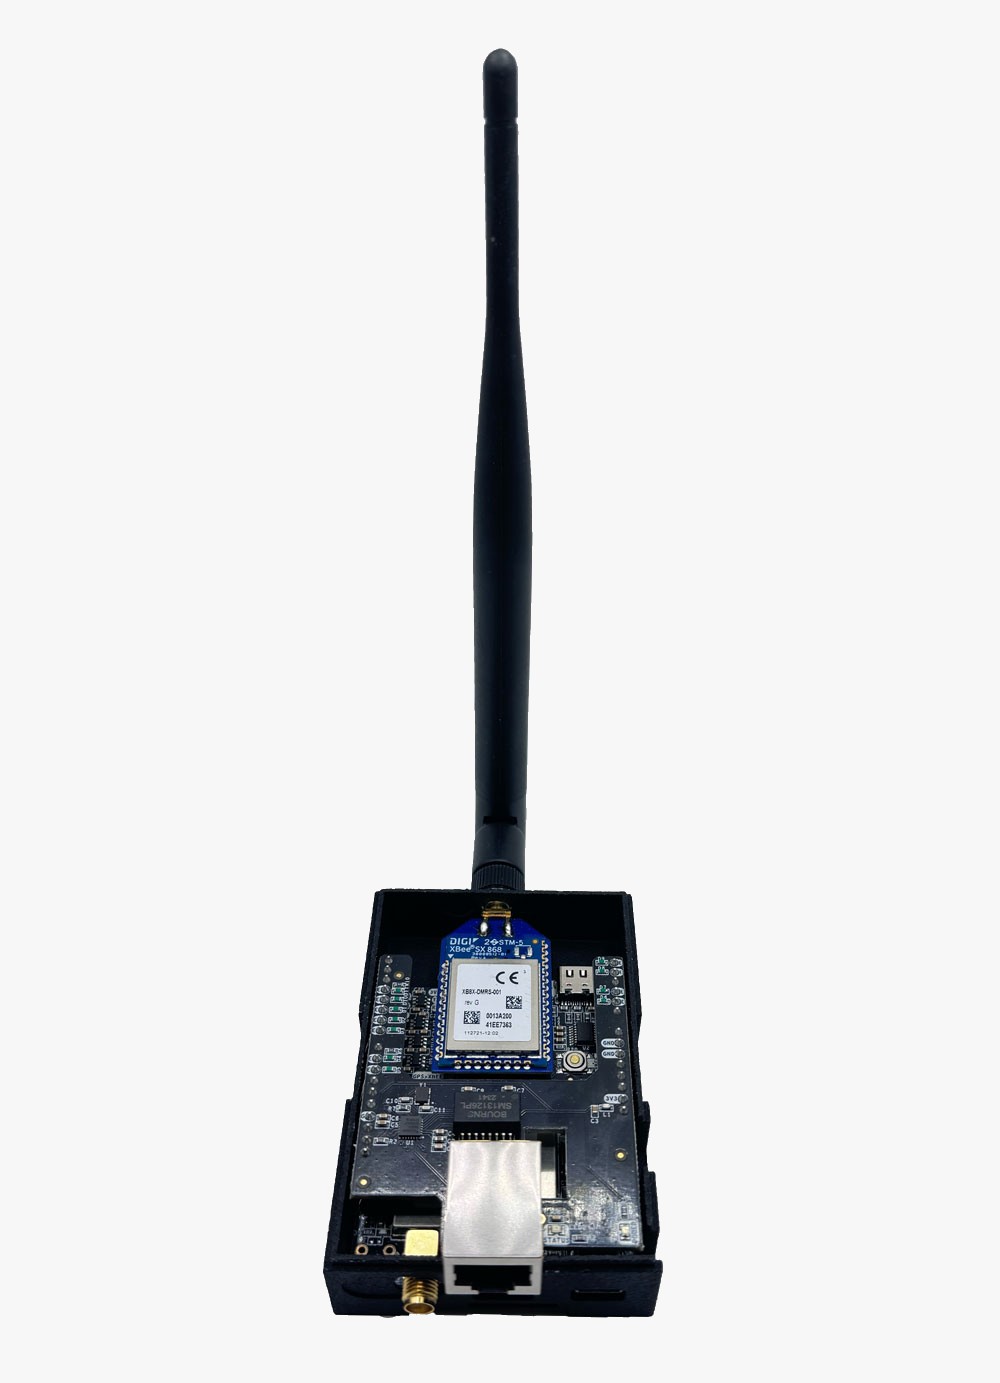
Radio module Long Range (LR)
101,00€ This product has multiple variants. The options may be chosen on the product page -
 Plugins
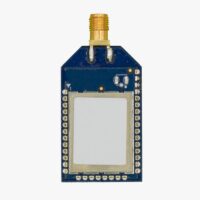
Radio module eXtra Long Range (XLR)
161,00€ This product has multiple variants. The options may be chosen on the product page -
-
-
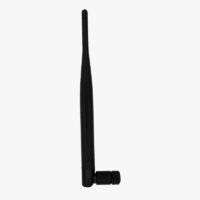
 Accessories
Vehicle Mount LR/XLR Antenna
48,00€ This product has multiple variants. The options may be chosen on the product page


-
-
-
Plugins
Radio module Long Range (LR)
101,00€ This product has multiple variants. The options may be chosen on the product page -
Plugins
Radio module eXtra Long Range (XLR)
161,00€ This product has multiple variants. The options may be chosen on the product page -
-
-
-
-
